
How to make small or low-resolution images larger and sharper for print, banners, and big screens—getting more use from the photos you already have.
The quick answer
AI image upscaling uses artificial intelligence to make an image larger while keeping it sharp—intelligently adding detail as it enlarges, rather than just stretching the pixels the way ordinary resizing does. That means you can take a small or low-resolution photo and enlarge it for print, a big web banner, or a high-resolution screen without the usual blurriness, getting far more use from the images you already have.
This guide explains, in plain language, how upscaling works, when it helps for print versus web, what its limits are, and how to get the best results. It's genuinely useful, but it isn't magic—it works best on reasonable originals and intelligently guesses missing detail rather than recovering it. Understanding both its power and its limits lets you use it well.
What this guide covers
Table of contents
- The quick answer
- What this guide covers
- What image upscaling actually is
- Resolution, in plain terms
- Why it beats ordinary resizing
- Why upscaling is so useful
- Upscaling for print
- Upscaling for the web
- Start with the best original you have
- Knowing the limits
- Review the results closely
- Everyday uses for upscaling
- Bringing old photos back to life
- Matching the size to the job
- Where upscaling fits in your editing
- AI and professionals together
- Upscaling mistakes to avoid
- How we can help with your images
- Frequently asked questions
- What is AI image upscaling?
- Why do I need to upscale images?
- How is AI upscaling different from just resizing?
- Does upscaling work for both print and web?
- Are there limits to what upscaling can do?
- Will upscaled images always look perfect?
- Is a good original still important?
- What is resolution, in simple terms?
- How to start upscaling
- Bringing it all together
- Helpful official resources
What image upscaling actually is
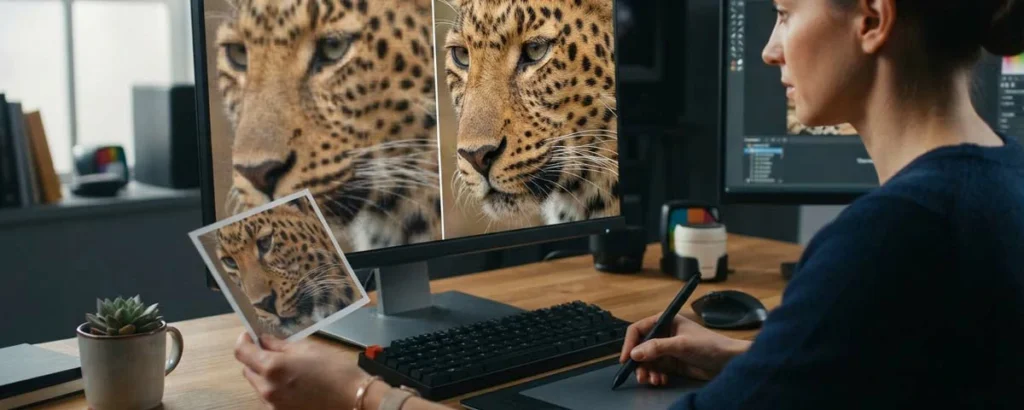
Image upscaling means making an image bigger. The problem is that, done the ordinary way, enlarging a photo makes it blurry—there simply isn't enough detail to fill the larger size, so the existing pixels get stretched and stretched until the image looks soft or blocky. AI upscaling solves this by intelligently adding detail as it enlarges, keeping the bigger image looking sharp and natural.
A helpful way to think about it is the difference between blowing up a photo on a photocopier and having a skilled artist carefully redraw it larger. The photocopier just makes everything bigger, blur and all. The artist looks at the small image, understands what it shows, and paints in the extra detail a bigger version needs. AI upscaling is much closer to the artist than the photocopier.
The key idea is that AI upscaling doesn't just stretch—it intelligently reconstructs. It has learned, from countless images, what things tend to look like up close, and uses that to add believable detail as it enlarges. Understanding it this way—as smart enlargement that adds detail rather than blur—is the foundation for using it well, and it's one of the most useful parts of AI image editing.
Bigger
Still sharp
No blur from enlarging.
Like an artist
Not a photocopier
Adds detail, not just size.
Reconstructs
Not just stretches
Smart, believable detail.
Resolution, in plain terms
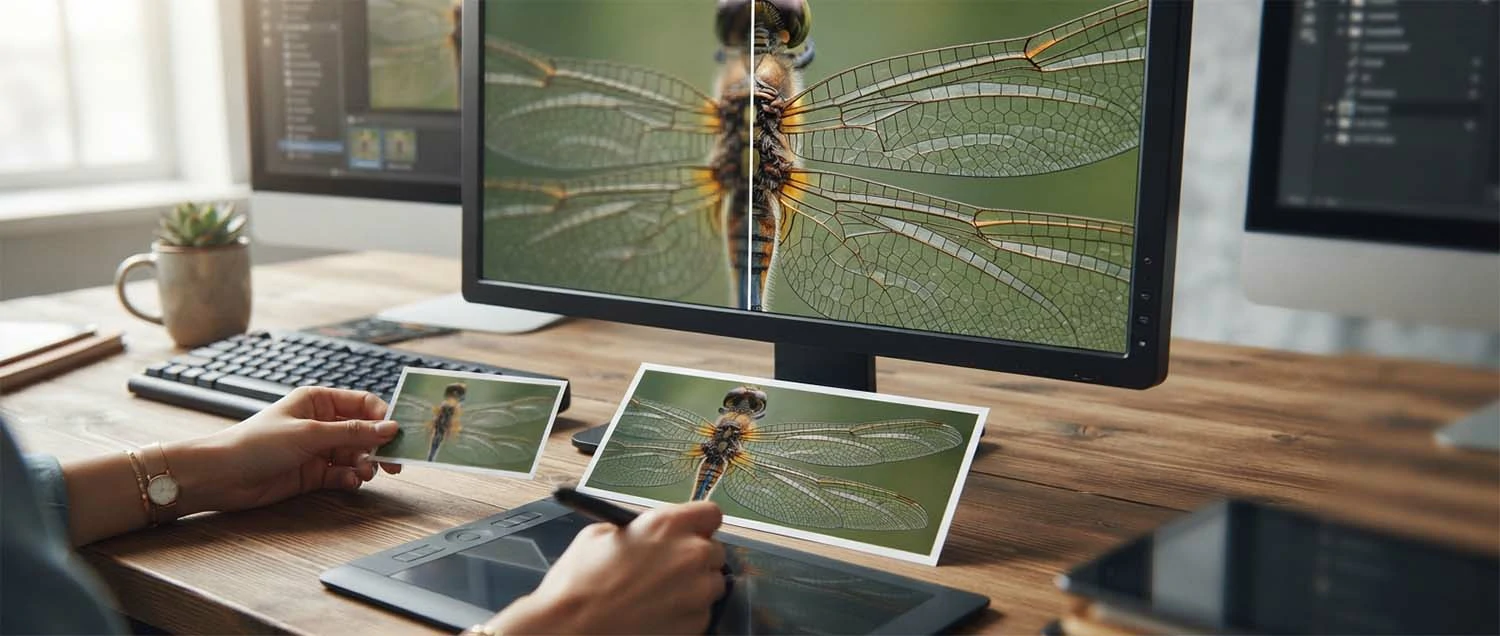
To understand upscaling, it helps to understand resolution. Resolution is roughly how much detail an image contains. A high-resolution image has lots of detail and can be shown large while staying sharp; a low-resolution one has less, so it looks fine small but blurry when enlarged. Upscaling increases an image's resolution intelligently, so it can be used bigger without losing its crispness.
Detail is the whole story. Think of resolution as how much detail is in an image. Understand more detail means it can go larger. See that low resolution looks fine small. Realize it turns blurry when enlarged. Know upscaling adds resolution intelligently. Appreciate that lets images be used bigger. Match resolution to how large you'll show it. Recognize resolution is really about detail. Resolution, in plain terms, is roughly how much detail an image contains—a high-resolution image can be shown large while staying sharp, while a low-resolution one looks fine small but blurry when enlarged—so upscaling increases an image's resolution intelligently, letting it be used bigger without losing crispness, exactly the quality that a professional photo editor protects.
Why it beats ordinary resizing
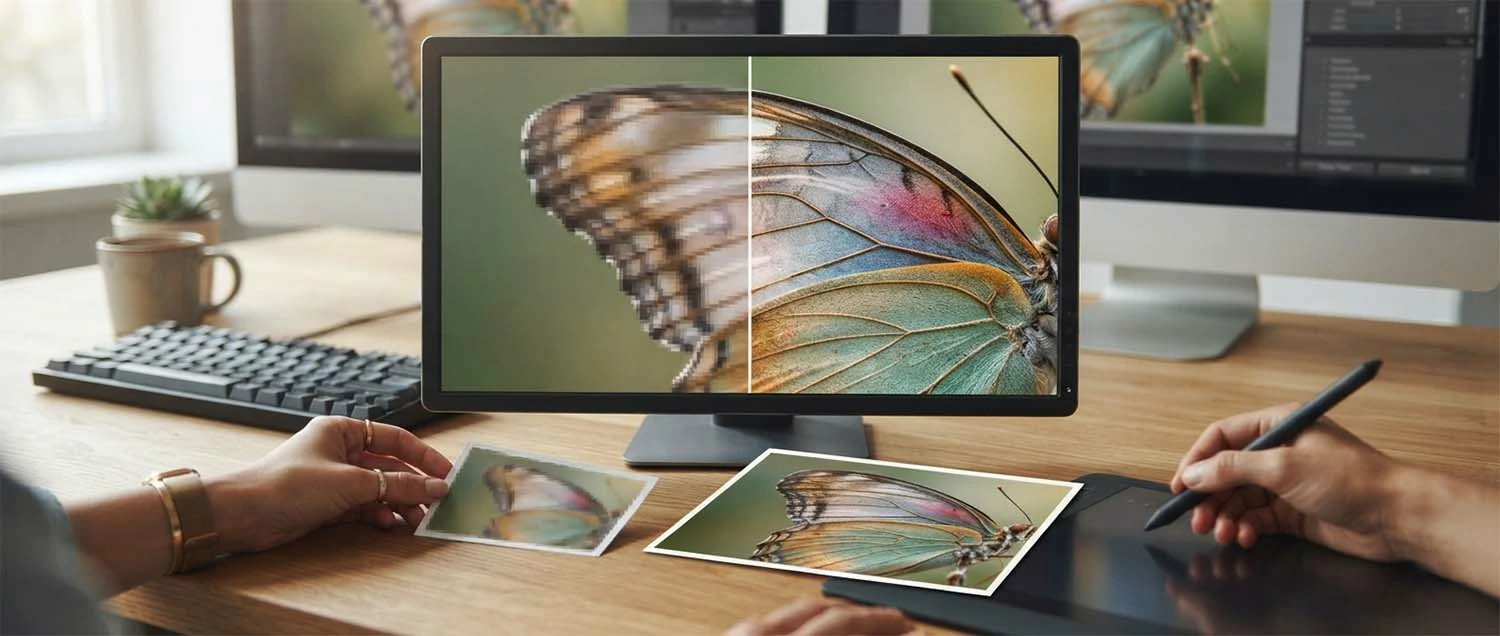
Ordinary resizing just makes the existing pixels bigger, so an enlarged image looks blurry or blocky—there's no new detail, just more of the same, spread thinner. AI upscaling is fundamentally different: as it enlarges, it fills in new, believable detail based on what it has learned, so edges stay crisp and textures stay natural. That's why upscaled images look sharp where simply resized ones look soft.
New detail, not just bigger pixels. Recognize ordinary resizing just stretches pixels. Understand that leaves images blurry or blocky. See AI upscaling adds new detail as it enlarges. Realize it keeps edges crisp and textures natural. Know it guesses detail from what it has learned. Appreciate why upscaled beats resized. Choose upscaling when sharpness matters. Recognize the difference is real and visible. AI upscaling beats ordinary resizing because resizing just makes existing pixels bigger, leaving an enlarged image blurry or blocky with no new detail—while AI upscaling fills in new, believable detail as it enlarges, keeping edges crisp and textures natural—so upscaled images look sharp where simply resized ones look soft, exactly the crispness that clean product images need.
Resizing
Just stretches
Blurry, blocky results.
Upscaling
Adds detail
Crisp edges, natural texture.
Visible difference
Sharp vs soft
Choose upscaling for sharpness.
Why upscaling is so useful
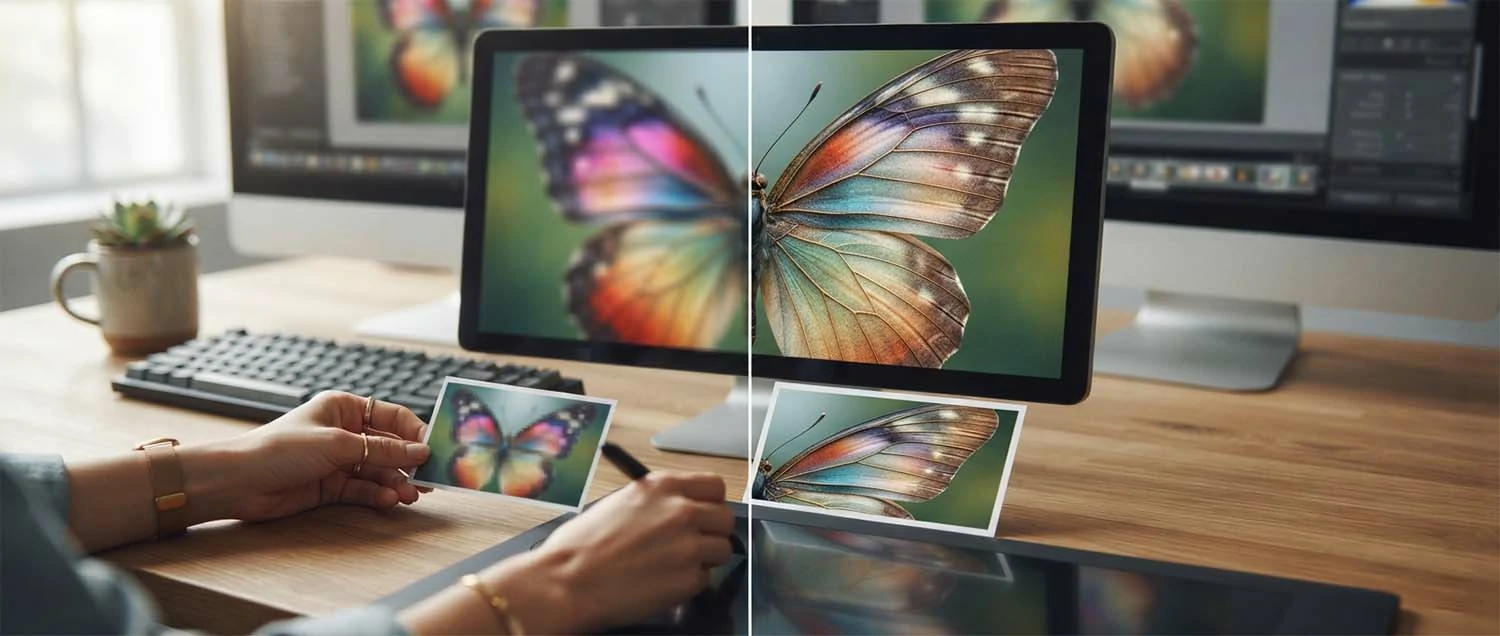
Every business has images that are almost right but too small—an old logo, a favourite product shot, a photo you only have in low resolution. Upscaling rescues them, letting you use images you'd otherwise have to reshoot or abandon. It means the pictures you already have can work in more places, from big banners to printed materials, saving time, money, and the frustration of "if only this were bigger."
Get more from what you have. Rescue small or low-resolution images. Reuse old photos and logos at larger sizes. Avoid reshooting just to get bigger images. Use existing pictures in more places. Prepare images for print and big screens. Save time and money on new photography. Solve the "if only it were bigger" problem. Recognize upscaling stretches your resources. Upscaling is so useful because every business has images that are almost right but too small—an old logo, a favourite shot, a low-resolution photo—so it rescues them, letting you use pictures you'd otherwise reshoot or abandon in more places, from big banners to printed materials, saving time, money, and frustration, the same resourcefulness that helps a small business keep its brand looking sharp.
Upscaling for print
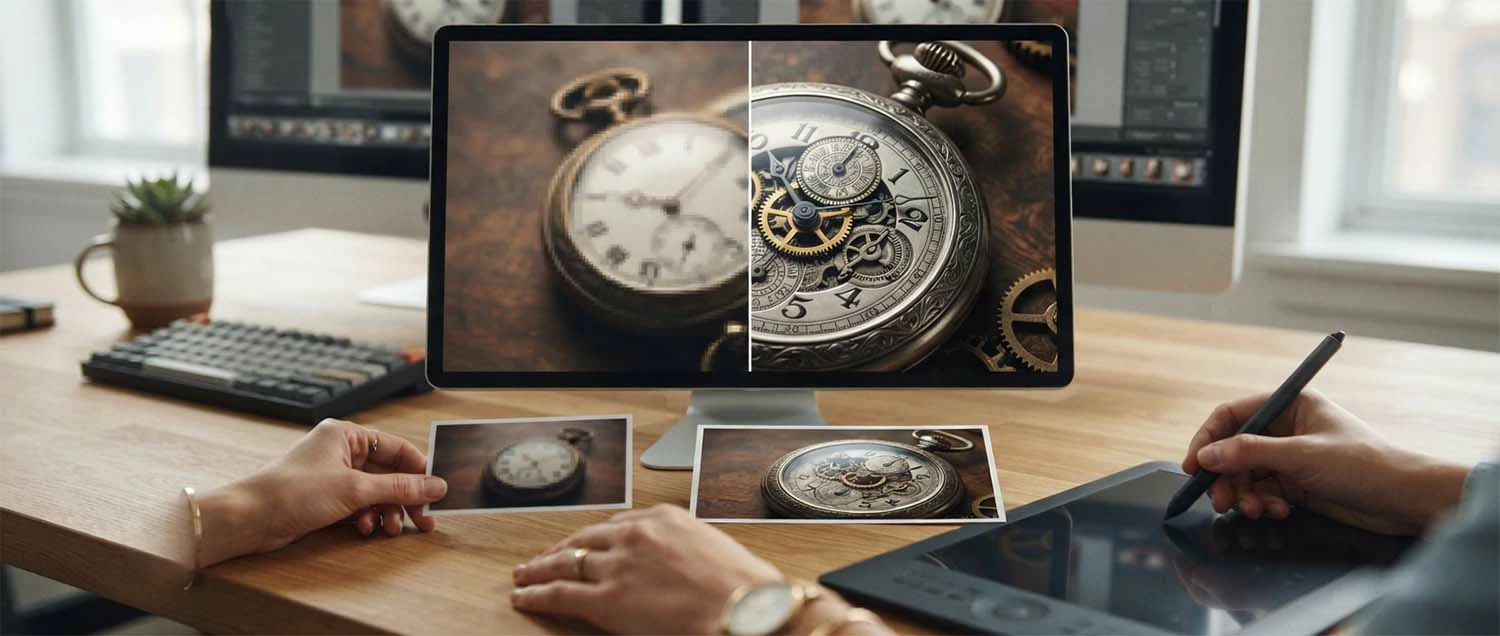
Print is where upscaling really earns its keep. Printed materials—flyers, posters, banners, packaging—usually need much higher resolution than screens, because up close the eye sees far more detail. An image that looks perfect on a website can print blurry if it's too small. Upscaling lets you take web-sized or older images and prepare them at the higher resolution print demands, so they look crisp on paper.
Get images print-ready. Recognize print needs higher resolution than screens. Understand a web image can print blurry. Upscale images before sending them to print. Prepare flyers, posters, and banners properly. Match the resolution to the print size. Check the result at full size. Avoid the disappointment of blurry prints. Recognize print is where upscaling shines. Upscaling for print is where it really earns its keep, because printed materials like flyers, posters, banners, and packaging usually need much higher resolution than screens—up close the eye sees far more detail—so an image that looks perfect on a website can print blurry if too small, and upscaling lets you prepare web-sized or older images at the higher resolution print demands, so they look crisp on paper, the same quality that professional editing ensures.
Higher resolution
Print needs it
The eye sees more up close.
Web can print blurry
If too small
Upscale before printing.
Crisp on paper
Match the size
Posters, banners, packaging.
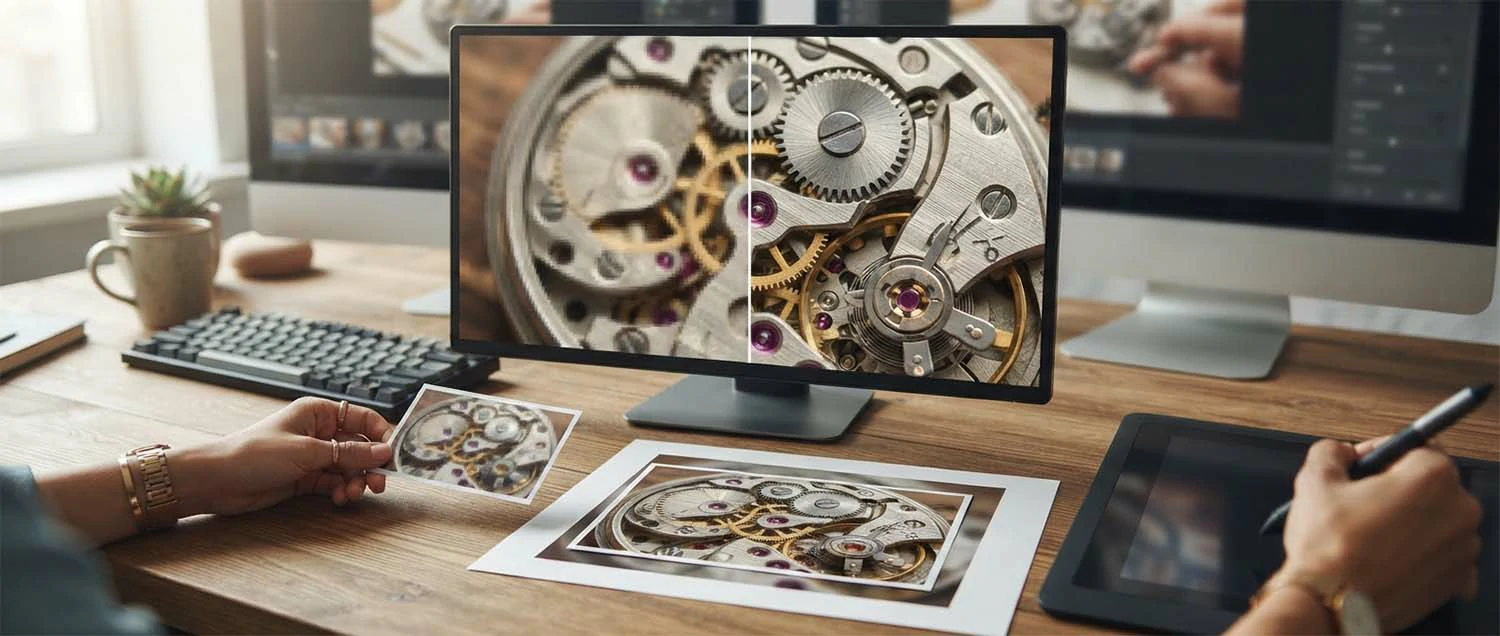
Upscaling for the web
On the web, upscaling helps in two main ways: making a small image large enough for a big banner or hero section, and making images look crisp on today's high-resolution screens, which show more detail than older ones. A once-adequate image can look soft on a modern display, and upscaling brings it back to sharp—though it's worth balancing size against fast page loading.
Sharp on every screen. Enlarge small images for banners and heroes. Make images crisp on high-resolution screens. Refresh once-adequate images that now look soft. Keep visuals sharp on modern displays. Balance image size against page speed. Avoid soft, dated-looking images. Prepare the right size for each use. Recognize web upscaling has real value too. Upscaling for the web helps in two main ways—making a small image large enough for a big banner or hero section, and making images crisp on today's high-resolution screens that show more detail than older ones—so a once-adequate image that now looks soft can be brought back to sharp, though it's worth balancing size against fast page loading, exactly the polish a well-built website needs.
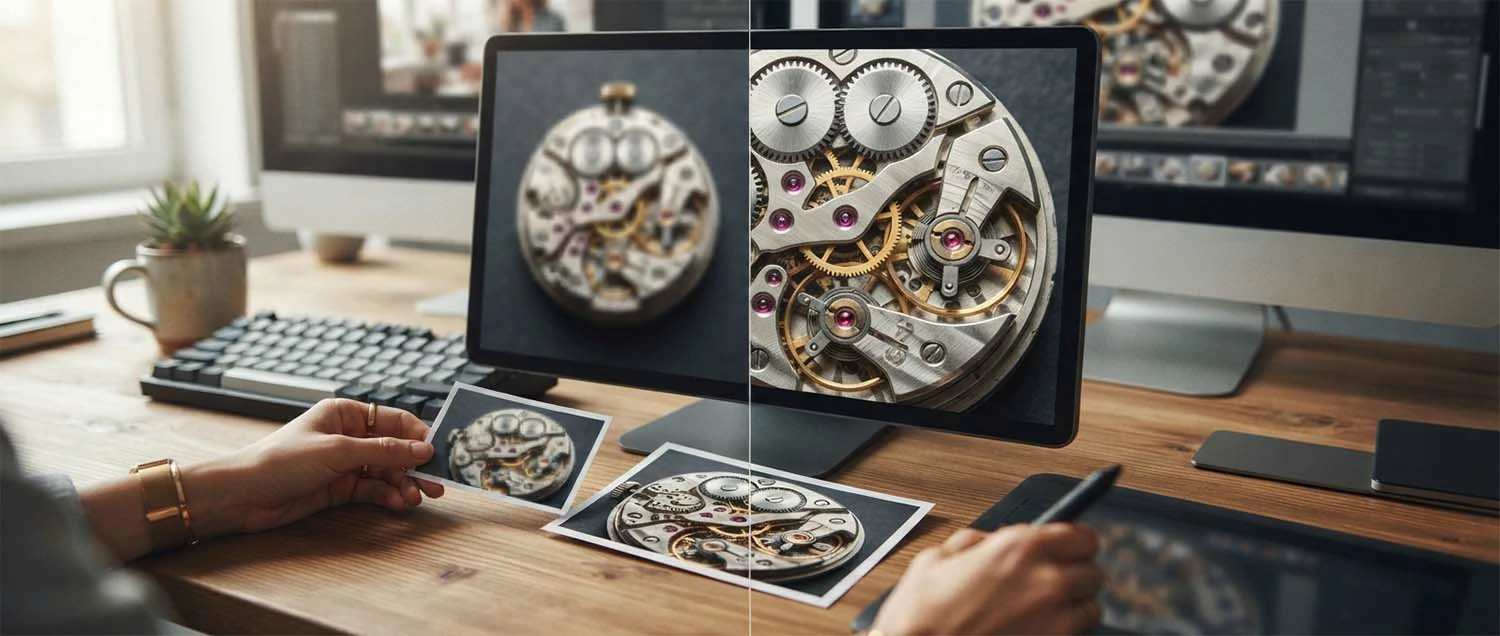
Start with the best original you have
Upscaling amplifies what's already in an image, so the better your starting point, the better the result. A clear, decent original gives the AI good material to enlarge and add to; a tiny, blurry, or heavily compressed one gives it little to work with, and the result will be limited. Whenever you can, start with the best version of an image you have rather than the smallest.
Better in, better out. Use the best version of an image you have. Prefer a clear, decent original. Avoid starting from a tiny thumbnail. Steer clear of heavily compressed images. Give the AI good material to amplify. Track down the original where possible. Recognize upscaling amplifies what's there. Understand a poor start limits the result. Starting with the best original you have matters because upscaling amplifies what's already in an image—so a clear, decent original gives the AI good material to enlarge and add to, while a tiny, blurry, or heavily compressed one gives it little to work with and limits the result—so whenever possible, start with the best version rather than the smallest, the same good-input principle that a strong background edit relies on.
Best version
Not the smallest
Track down the original.
Clear & decent
Good material
Something worth amplifying.
Amplifies
What's there
A poor start limits it.
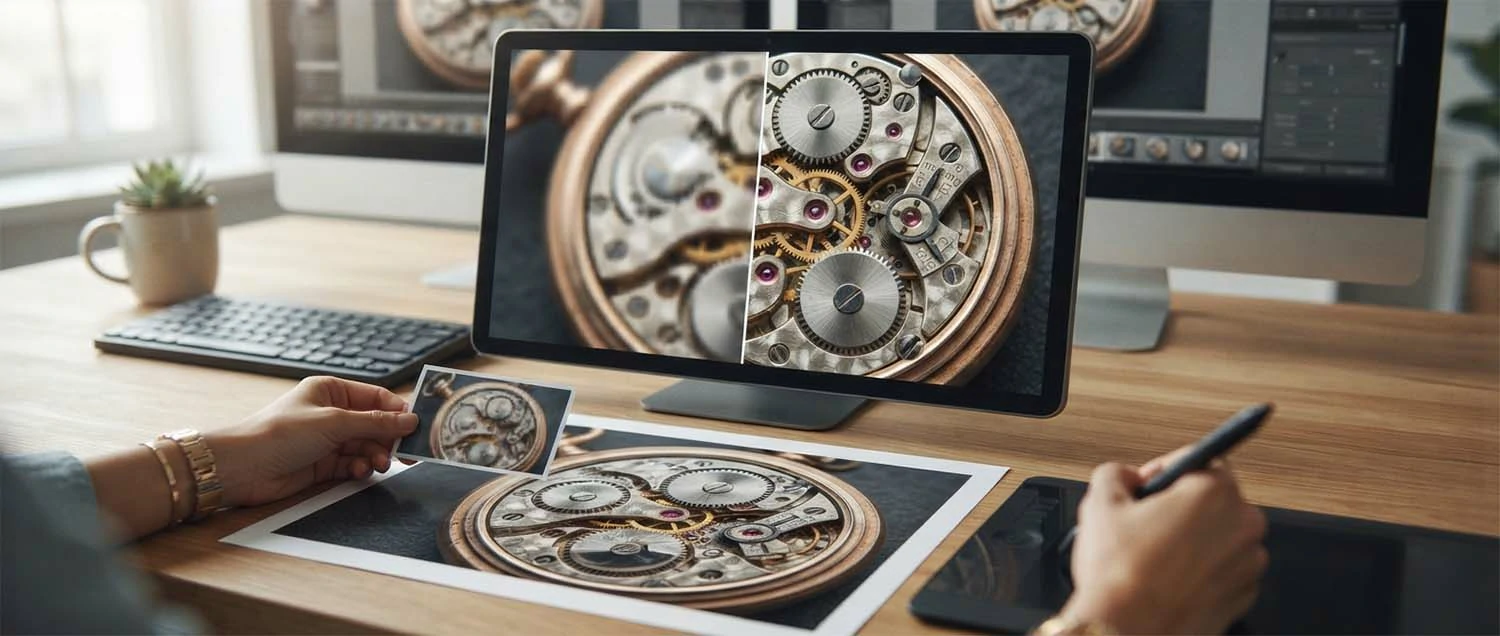
Knowing the limits
Upscaling is powerful, but it isn't magic, and it's important to know its limits. The AI intelligently guesses detail that a bigger image should have—it doesn't recover detail that was never captured. So a very tiny or very poor image can only improve so much, and sometimes the guessed detail isn't quite right. Setting realistic expectations keeps you happy with what upscaling genuinely can do.
Expect a lot, but not miracles. Recognize upscaling guesses, not recovers, detail. Understand it can't restore what was never captured. Know very poor images improve only so much. Accept guessed detail is sometimes slightly off. Set realistic expectations upfront. Judge results against what's actually possible. Use a real shoot when upscaling can't deliver. Recognize knowing limits prevents disappointment. Knowing the limits matters because upscaling is powerful but not magic—the AI intelligently guesses the detail a bigger image should have rather than recovering detail that was never captured—so a very tiny or very poor image can only improve so much, and guessed detail is sometimes slightly off, which means setting realistic expectations keeps you happy with what upscaling genuinely can do, the same honest framing that avoids the disappointments behind common missteps.
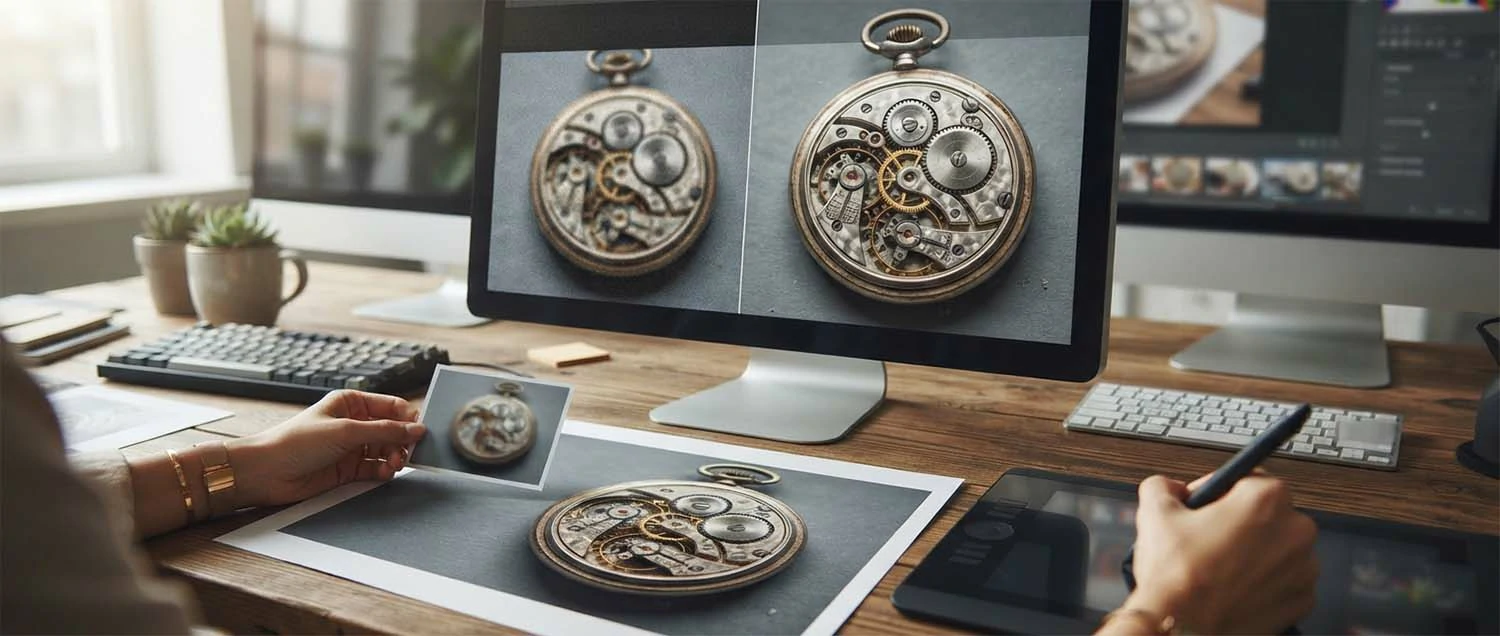
Review the results closely
Because upscaling adds guessed detail, it's wise to look at the results closely—especially for important uses like print. Occasionally the AI over-smooths, adds odd textures, or invents detail that looks a little off. Viewing the upscaled image at full size and checking key areas ensures it's genuinely good before you rely on it. A quick review catches the rare problem before it reaches a poster or a customer.
Look before you rely on it. View the upscaled image at full size. Check faces, text, and key details. Watch for over-smoothing or plastic areas. Look for invented detail that seems off. Review more carefully for print. Compare against the original. Redo or refine if something's wrong. Recognize a quick check protects quality. Reviewing the results closely is wise because upscaling adds guessed detail, so occasionally the AI over-smooths, adds odd textures, or invents detail that looks off—so viewing the upscaled image at full size and checking key areas, especially for print, ensures it's genuinely good before you rely on it, catching the rare problem before it reaches a poster or a customer, the same careful eye that skilled editing brings.
Full size
Check details
Faces, text, key areas.
Watch for
Over-smoothing
Odd or invented detail.
Extra care
For print
Catch problems early.
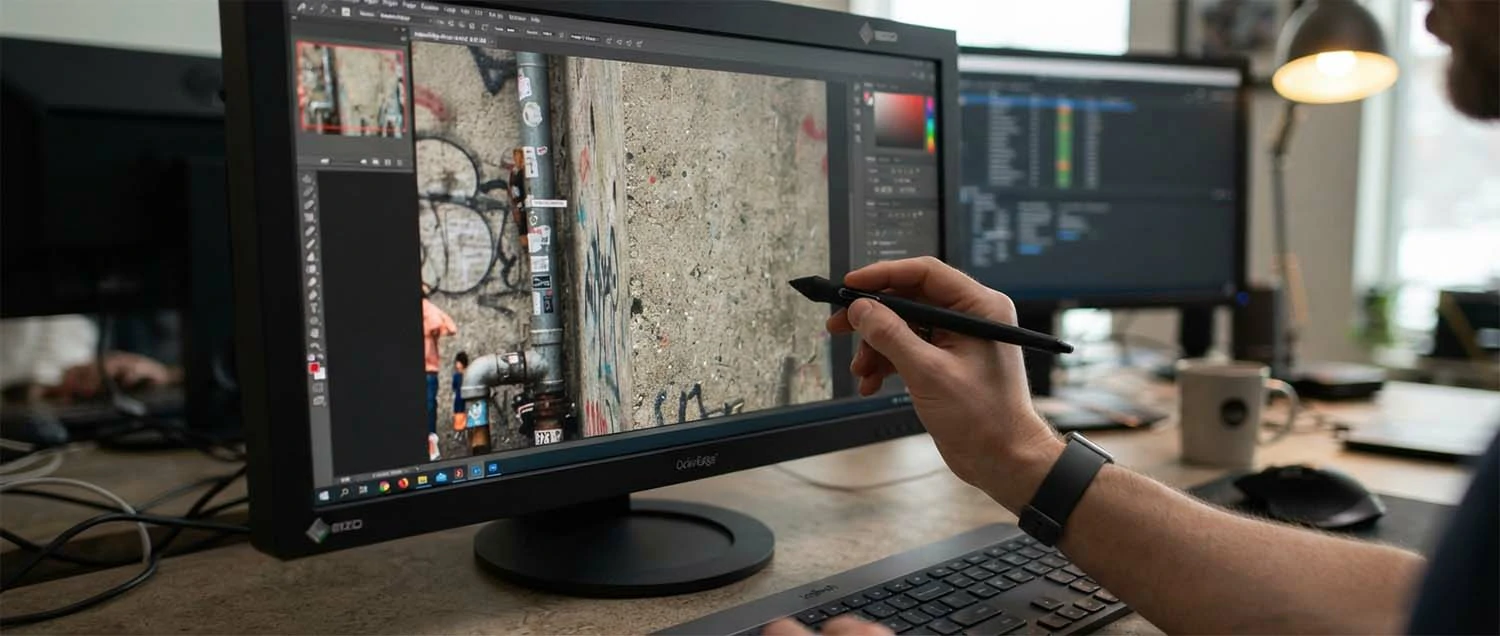
Everyday uses for upscaling
Once you can upscale, you'll find uses everywhere: preparing product photos for large listings, enlarging an old logo for a banner, getting a favourite photo ready to print, sharpening images for a modern high-resolution site, or rescuing pictures you only have small copies of. It quietly removes a whole category of "this image is too small" problems from your everyday work.
Solve "too small" everywhere. Prepare product photos for large listings. Enlarge old logos for banners. Get favourite photos ready to print. Sharpen images for high-resolution sites. Rescue pictures you only have small. Reuse archive images at bigger sizes. Fit the same image to more uses. Recognize the uses turn up constantly. Everyday uses for upscaling turn up everywhere once you can do it—preparing product photos for large listings, enlarging an old logo for a banner, getting a favourite photo ready to print, sharpening images for a high-resolution site, or rescuing small-only pictures—so it quietly removes a whole category of "this image is too small" problems from your work, exactly the kind of practical fix that keeps a product catalogue looking its best.
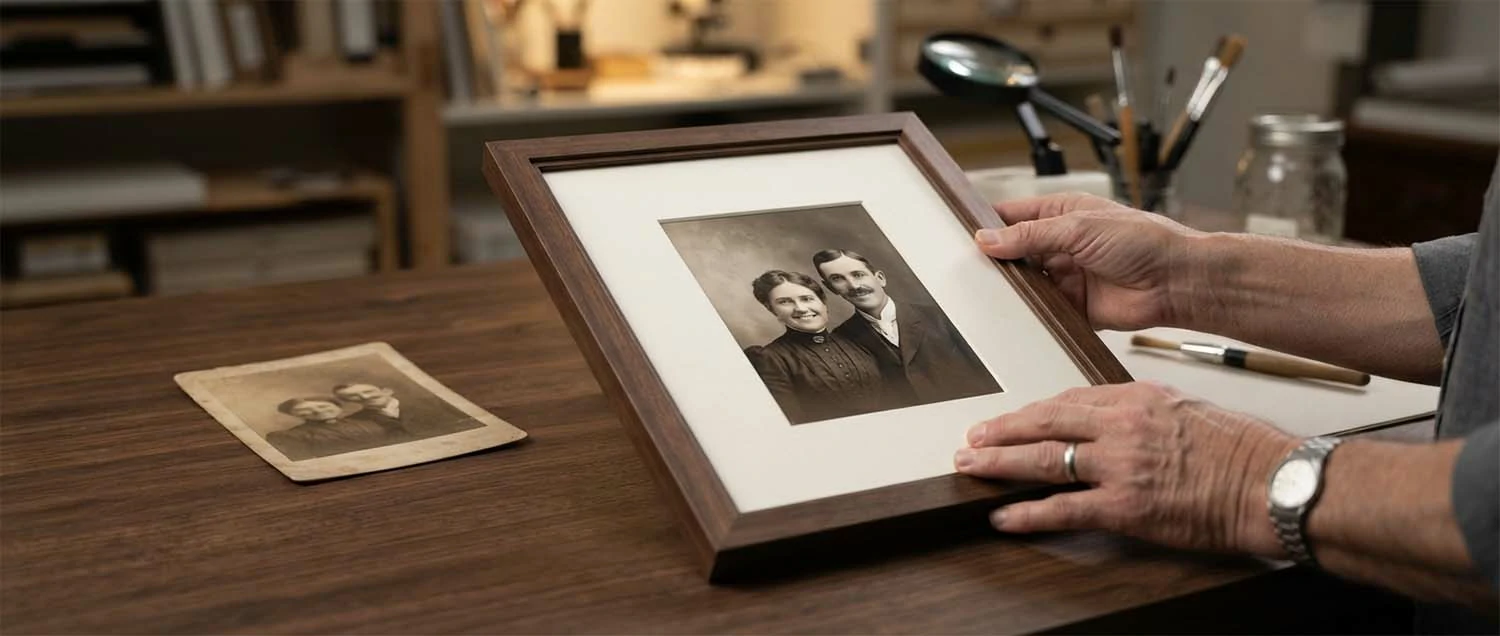
Bringing old photos back to life
One of the loveliest uses of upscaling is rescuing old or precious photos. Family pictures, historic company images, or scans of printed photos are often small, soft, or a little damaged. Upscaling can enlarge and sharpen them, giving faded memories a new lease of life—big enough to print, frame, or feature. It's a quietly rewarding way to make treasured images usable again.
Give old images new life. Rescue small or soft old photographs. Enlarge scans of printed pictures. Sharpen faded family or company images. Prepare treasured photos to print or frame. Make historic images usable again. Combine upscaling with a little cleanup. Treat precious originals with care. Recognize this is one of upscaling's happiest uses. Bringing old photos back to life is one of the loveliest uses of upscaling, because family pictures, historic company images, and scans of printed photos are often small, soft, or a little damaged—so upscaling can enlarge and sharpen them, giving faded memories a new lease of life big enough to print, frame, or feature, a quietly rewarding way to make treasured images usable again, often paired with a careful restoration touch.
Old photos
Rescued
Small, soft, or scanned.
Bigger & sharper
Print or frame
A new lease of life.
Treasured images
Usable again
A rewarding use.
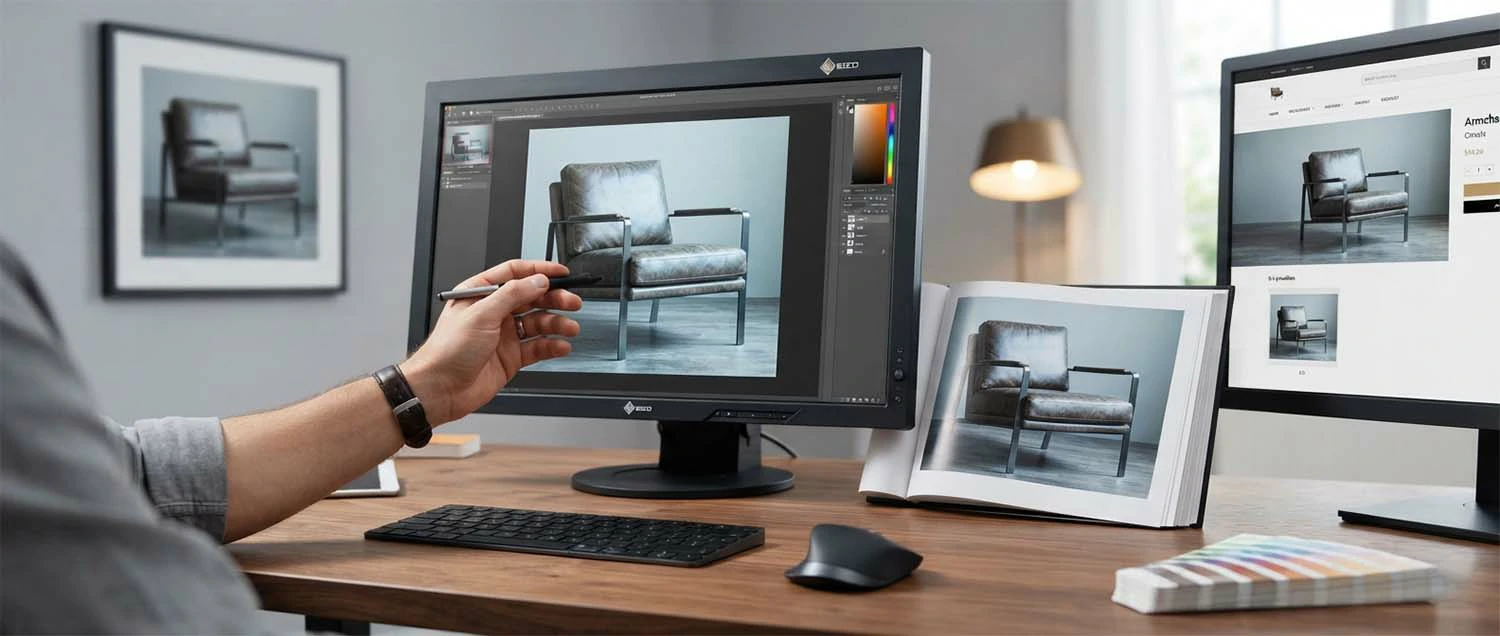
Matching the size to the job
A common question is "how big should I upscale to?"—and the answer is: as big as the job needs, and no bigger. A small web thumbnail, a full-width banner, an A4 flyer, and a large poster all need different sizes. Upscaling to the right target for the actual use gives you a sharp result without wastefully huge files. Knowing the end size before you upscale saves guesswork.
Aim for the size you'll actually use. Decide the final use before upscaling. Upscale to what the job needs, no more. Use larger targets for print than for web. Avoid needlessly huge files. Right-size web images for fast loading. Prepare print at the size it'll appear. Keep a master and export sizes as needed. Recognize the right target beats "as big as possible." Matching the size to the job means upscaling as big as the job needs and no bigger, because a web thumbnail, a full-width banner, an A4 flyer, and a large poster all need different sizes—so upscaling to the right target for the actual use gives a sharp result without wastefully huge files, and knowing the end size before you upscale saves guesswork, exactly the right-sizing that a fast, well-built website depends on.
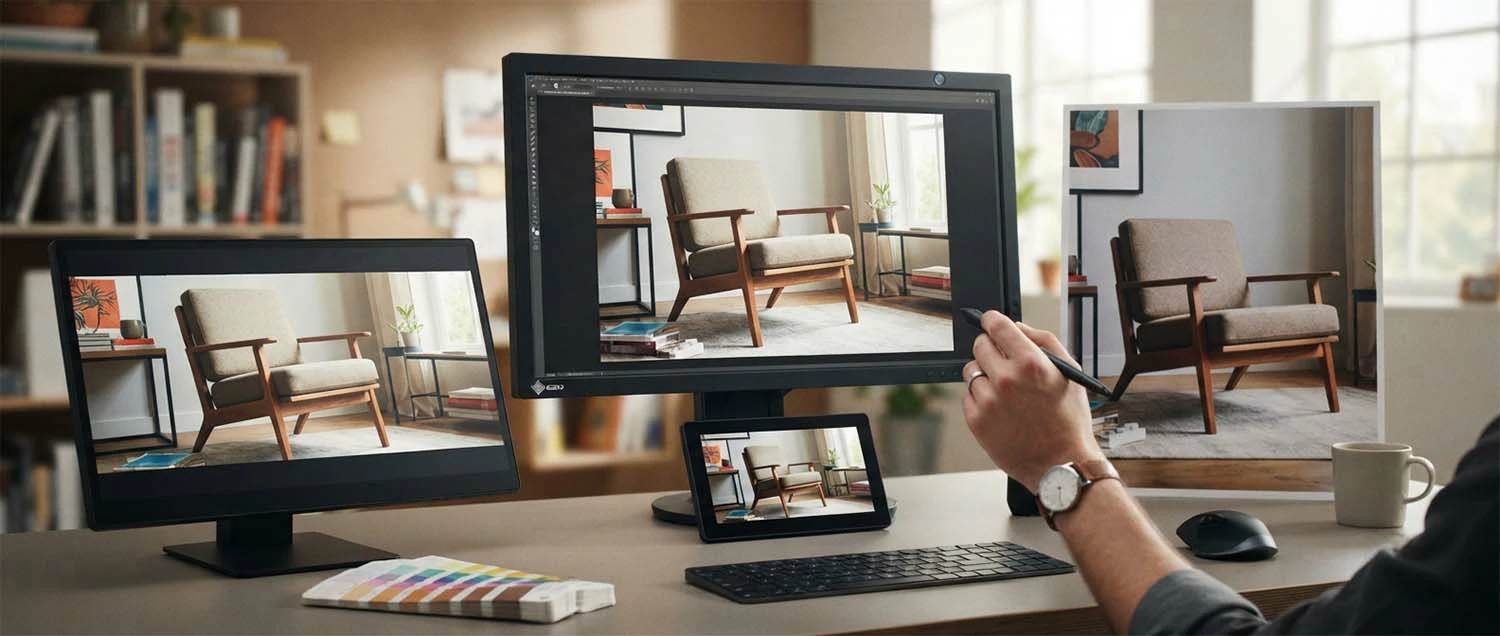
Where upscaling fits in your editing
Upscaling works best as one step in a sensible order. Usually you'd do your main edits first—cropping, cleaning up, adjusting colour, removing a background—and upscale toward the end, so the AI enlarges a clean, finished image rather than amplifying flaws. Thinking of upscaling as a finishing step in your editing, not the first thing you reach for, gives you the best results.
Order your edits sensibly. Do your main edits before upscaling. Crop and clean up first. Adjust colour and remove backgrounds early. Upscale a clean, finished image. Avoid enlarging flaws you'd have fixed. Treat upscaling as a finishing step. Keep an unscaled master to re-export from. Recognize order makes the result better. Where upscaling fits in your editing is best thought of as a finishing step, because doing your main edits first—cropping, cleaning up, adjusting colour, removing a background—and upscaling toward the end means the AI enlarges a clean, finished image rather than amplifying flaws, so treating upscaling as one step in a sensible order gives the best results, exactly how it slots into a broader editing workflow.
Edit first
Then upscale
Crop, clean, colour, then enlarge.
Clean image in
Not flaws
Don't amplify problems.
A finishing step
Sensible order
Keep an unscaled master.
AI and professionals together
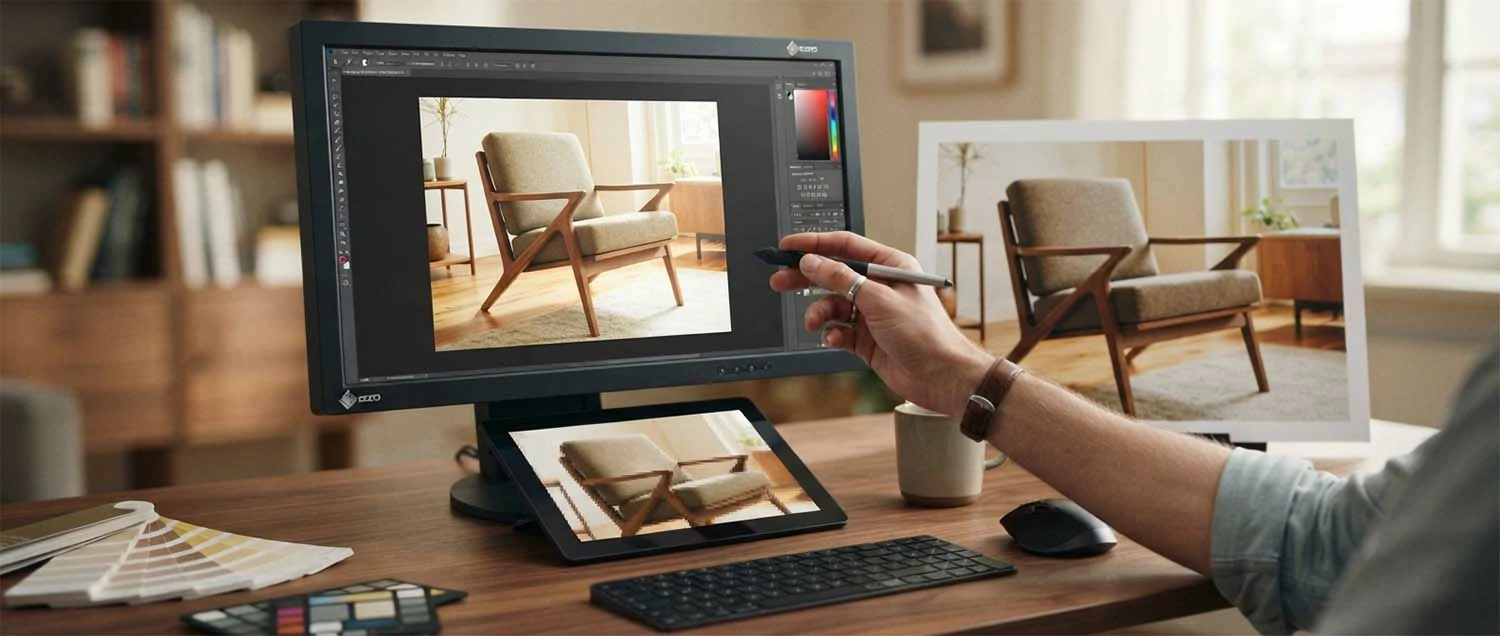
For everyday needs, AI upscaling lets almost anyone get good results themselves. But for your most important images—large prints, a hero banner, a treasured photo—a professional can push quality further, tidying the guessed detail, sharpening thoughtfully, and making sure it's flawless at full size. Using AI for the bulk and a professional for what really matters gives you both speed and top quality.
Use each where it fits. Use AI upscaling for everyday images. Bring in a professional for key prints. Let an expert refine the guessed detail. Get flawless results where it matters most. Save time on routine upscaling with AI. Invest in quality for hero and print images. Combine both in a sensible mix. Recognize they complement, not compete. AI and professionals work best together, because for everyday needs AI upscaling lets almost anyone get good results themselves, while for your most important images—large prints, a hero banner, a treasured photo—a professional can push quality further by tidying guessed detail, sharpening thoughtfully, and ensuring it's flawless at full size—so using AI for the bulk and a professional for what really matters gives both speed and top quality, exactly the balance that skilled professional editing provides.
Upscaling mistakes to avoid
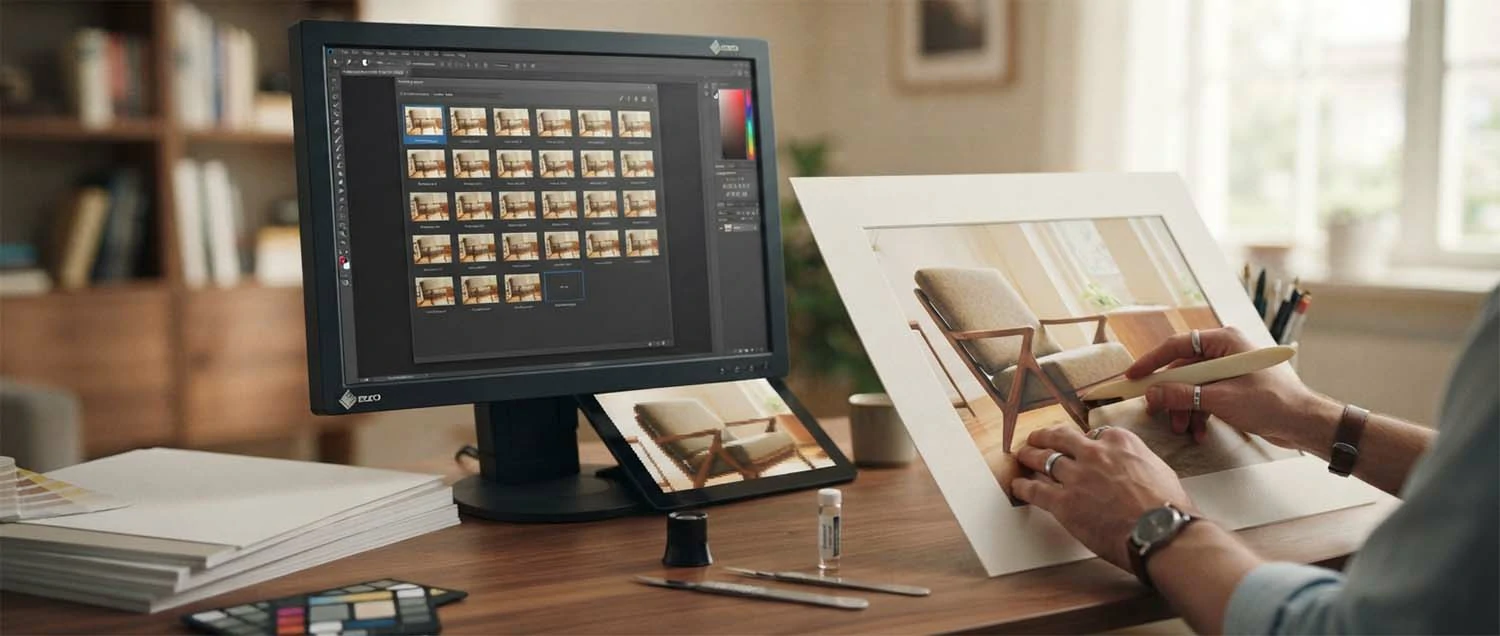
A few common mistakes stop upscaling from delivering its best. Recognizing them keeps your enlarged images sharp and believable.
Starting too small
Tiny originals limit results. Use the best you have.
Expecting miracles
It guesses, not recovers. Set realistic hopes.
Skipping the review
It can over-smooth. Check at full size.
Wrong resolution for print
Print needs more. Match the print size.
Huge files slowing the web
Balance size with speed. Right-size for web.
Over-upscaling
Too much looks fake. Enlarge sensibly.
How we can help with your images
Getting the sharpest possible results, especially for print, takes a careful eye. Our team helps you upscale, sharpen, and perfect images—and brings a full range of services so all your visuals look their best, big or small.
Web Design and Development
We build sites that use crisp, right-sized images that look sharp and load fast.
Video Editing
We enhance and upscale video footage for crisp, professional results.
Image Editing
We upscale, sharpen, and perfect your images for print and web.
Audio Editing
We polish the audio in your content, so everything sounds as sharp as it looks.
3D Design and Rendering
We create high-resolution 3D visuals ready for print or big screens.
SEO Services
We help your crisp, well-optimised images support your visibility online.
Frequently asked questions
What is AI image upscaling?
AI image upscaling uses artificial intelligence to make an image larger while keeping it sharp, intelligently adding detail rather than just stretching the pixels. It lets you enlarge small or low-resolution photos for uses that need bigger, clearer images—like print or large web banners—without the usual blurriness.
Why do I need to upscale images?
Sometimes you only have a small or low-quality image but need a larger, sharper one—for a banner, a print, or a big screen. Simply enlarging it makes it blurry. Upscaling lets you increase the size while keeping it looking crisp, so you can use the images you have in more places.
How is AI upscaling different from just resizing?
Ordinary resizing just stretches the existing pixels, so an enlarged image looks blurry or blocky. AI upscaling intelligently fills in new detail as it enlarges, guessing what should be there based on what it has learned, so the result stays sharp and natural rather than fuzzy.
Does upscaling work for both print and web?
Yes, though the needs differ. Print usually needs higher resolution than screens, so upscaling is especially valuable there. On the web, it helps for large banners or hero images and for making small images look crisp on high-resolution displays. Matching the result to the use gives the best outcome.
Are there limits to what upscaling can do?
Yes. Upscaling works best on reasonable originals; it can't perfectly restore detail that was never captured. Very tiny or very poor images can only improve so much, and the AI is intelligently guessing detail, not recovering it. Knowing the limits helps you set realistic expectations.
Will upscaled images always look perfect?
Usually much better, but not always flawless—especially from a very poor original. It's wise to review upscaled images closely for any oddities or over-smoothing, particularly for important uses like print. A quick check, and a professional touch where it really matters, keeps quality high.
Is a good original still important?
Very much. The better your starting image, the better the upscaled result. Upscaling amplifies what's there, so a clear, decent original gives the AI good material to enlarge. Whenever possible, start with the best image you have rather than relying on upscaling to rescue a very poor one.
What is resolution, in simple terms?
Resolution is roughly how much detail an image contains—more resolution means more detail and the ability to show the image larger while staying sharp. Small, low-resolution images look fine tiny but blurry when enlarged. Upscaling increases resolution intelligently so images can be used bigger.
How to start upscaling
Getting started is easy. Pick an image you'd like larger and sharper, run it through an AI upscaling tool, and compare the result to the original. Try a few different images—some good, some poor—to learn what upscaling can do and where its limits are. Seeing it work on your own images quickly gives you a feel for how much it can help.
As you go, build good habits: start from the best original you have, match the resolution to the use (higher for print, right-sized for web), and review results closely before relying on them. For your most important images—especially large prints—consider a professional touch to be sure the quality is spot on. Little by little, upscaling becomes a natural part of preparing your visuals.
The main thing is to try it. You don't need to understand the technology or perfect every image at once. Upscale one photo, see the difference, and go from there. Do that, and you'll soon find that "this image is too small" stops being a problem—and that you can get far more use from every image you have, on screen and in print alike.
Bringing it all together
AI image upscaling quietly solves one of the most common image problems: needing a picture bigger than it was made to be. By intelligently adding detail as it enlarges—more like a skilled artist than a photocopier—it makes small or low-resolution images larger and sharper, ready for print, big web banners, and high-resolution screens. That means far more use from the images you already have.
To get the best from it, start with the best original you can, match the resolution to the use, and remember that print needs more than the web. Know the limits—upscaling guesses detail, it doesn't recover it—so set realistic expectations and review results closely, especially for important or printed images.
Above all, just try it. Upscale one image, compare it to the original, and see how much sharper and more usable it becomes. Do that, whether on your own or with a good creative team, and upscaling becomes a genuinely practical tool—one that stretches your images, and your budget, further, and quietly removes "too small" from your list of worries.