Learn how to create stunning miniature banana composites that look impossibly real. This comprehensive tutorial covers everything from basic scaling to advanced lighting techniques.
What Is "Nano Banana" Art?
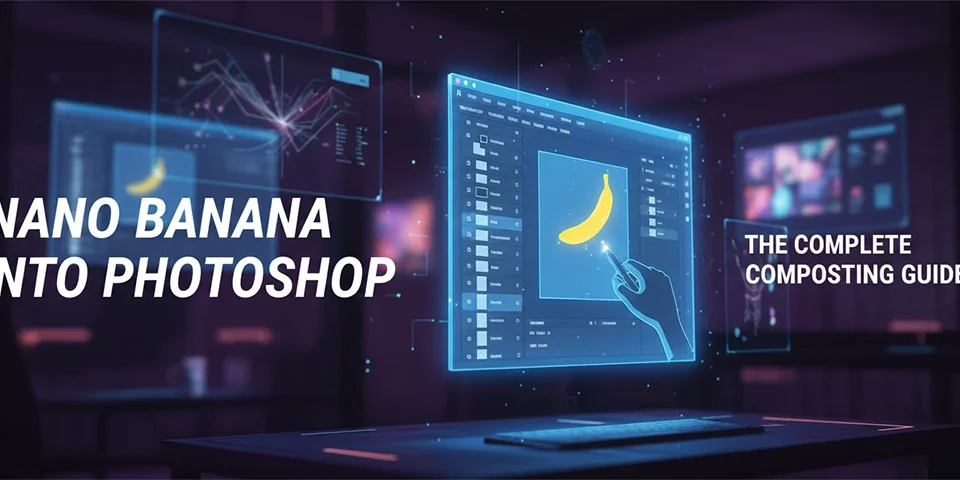
The "Nano Banana" is a popular Photoshop compositing exercise and digital art style where artists create hyper-realistic images of impossibly tiny bananas placed in real-world contexts. Think of a banana so small it could fit on your thumbnail, yet photographed and lit so convincingly that viewers do a double-take.
This technique has roots in surrealist art and forced perspective photography, but the digital execution takes it to new extremes. What makes nano banana art particularly popular is its accessibility—the subject is familiar, the concept is humorous, and the skills learned apply to serious compositing work.
Whether you're a beginner looking for a fun project or an experienced retoucher wanting to sharpen your compositing skills, the nano banana is an excellent canvas. In this comprehensive guide, we'll walk through every step of creating photorealistic miniature banana art.
Skills You'll Learn

What You'll Need
Software
Adobe Photoshop CC (2020 or newer recommended). Alternatives like Affinity Photo or GIMP can work, but this tutorial is Photoshop-specific.
Banana Image
A high-resolution photo of a banana, ideally on a clean or white background. Shoot your own or use stock sites like Unsplash or Pexels.
Background Scene
The image where your tiny banana will live. Popular choices: a human hand, a coin, a keyboard, or any surface that provides scale reference.
Step-by-Step: Create Your Nano Banana
Open and Prepare Your Files
Open both your banana image and background scene in Photoshop. Ensure your files are high-resolution (at least 2000px on the longest side) for clean scaling. Organize your layers from the start—name them clearly.
Shortcut: Press Ctrl/Cmd + O to open files. Drag the banana tab onto the background document to combine them.
Isolate the Banana (Masking)
Select the banana using your preferred method. For clean backgrounds, Select Subject (Select > Subject) works well. For complex backgrounds, use the Pen Tool (P) for precision. Refine edges with Select and Mask (Shift + Ctrl/Cmd + R).
- Feather: 0.5 - 1 pixel for natural edges
- Smooth: 5-10 to remove jagged edges
- Shift Edge: -5 to 0% to avoid white halos
- Output to: Layer Mask
Convert to Smart Object
Before scaling, right-click your banana layer and select Convert to Smart Object. This is critical—it preserves the original resolution, so if you need to resize later, you won't lose quality.
Warning: If you skip this step and scale down a regular layer, Photoshop discards pixel data. Scaling back up will result in a blurry banana.
Scale Down to "Nano" Size
Use Free Transform (Ctrl/Cmd + T) to shrink the banana. Hold Shift to maintain proportions. How small? That depends on your scene—generally, the banana should look impossibly tiny compared to its surroundings (5-15% of a fingertip, for example).
Position it carefully within the scene. Consider where it would naturally rest—the physics should still make visual sense even if the scale doesn't.
Analyze and Match Lighting
Observe where light comes from in your background image. The banana must match this lighting direction. Use adjustment layers clipped to the banana:
- Curves: Adjust brightness and contrast to match ambient light
- Color Balance: Shift tones to match the environment's color cast
- Dodge/Burn (on overlay layer): Manually add highlights and shadows where needed
Create Realistic Shadows
Shadows are what sell the illusion. You need at least two types:
- Contact Shadow: Very dark, very small, directly beneath the banana where it touches the surface. Use a hard brush at low opacity.
- Soft Shadow: Larger, diffused shadow that spreads outward. Create using a soft black brush on a separate layer, then apply Gaussian Blur.
Set shadow layers to Multiply blend mode and reduce opacity until natural (usually 30-60%).
Add Depth of Field (Optional)
If your background scene has a shallow depth of field (blurred areas), the banana should match. If the banana is in focus but the background is blurred, it will look composited.
Apply a slight Gaussian Blur (Filter > Blur > Gaussian Blur) to the banana if it should be slightly out of focus. Conversely, if the banana is the hero subject, ensure the background blur is consistent.
Final Color Grading & Export
Unify the composite with a global color grade. Create adjustment layers above all others:
- Color Lookup (LUT): Apply a subtle film tone or mood
- Noise: Add 1-3% noise (Filter > Noise > Add Noise) to match grain
- Vignette: Optional subtle darkening of edges
Save your PSD file with layers intact, then export as JPEG or PNG for sharing (File > Export > Export As).
Advanced Pro Tips
🎨 Color Spill
When an object sits on a colored surface, that color "spills" onto the object's underside. Add a subtle color overlay to the bottom of your banana matching the surface color. This adds incredible realism.
🌟 Rim Light
If your scene has a strong backlight, add a thin rim highlight to the edge of the banana using an Inner Glow or by painting on an overlay layer. This separates the subject from the background.
📏 Reference Objects
Include scale reference objects in your scene—a coin, a ruler mark, or a recognizable object. This emphasizes the "nano" scale and makes the illusion more impactful.
🔄 Camera RAW Filter
Flatten a copy of your composite (Ctrl/Cmd + Shift + Alt + E), then apply Camera RAW Filter (Filter > Camera RAW Filter) for powerful final adjustments to exposure, clarity, and color.
Common Mistakes to Avoid
❌ Ignoring Light Direction
If the light in your background comes from the left but your banana is lit from the right, it will never look real. Rotate or flip your banana source to match.
❌ Forgetting Contact Shadows
Objects touching surfaces have dark, tight shadows at the point of contact. Without this, your banana will appear to float.
❌ Over-Sharpening
If your banana looks crisper than the background, it screams "composited." Match the sharpness/focus of surrounding elements.
❌ Wrong Color Temperature
A warm yellow banana in a cool blue-tinted scene will look out of place. Use Color Balance or Photo Filter adjustment layers to match.
Frequently Asked Questions
Can I use any fruit, or does it have to be a banana?
Absolutely! The "nano" concept works with any object. Bananas are popular due to meme culture and their recognizable shape, but apples, strawberries, or even non-food items work great.
What Photoshop version do I need?
Any version from CC 2015 onwards works. Newer features like "Select Subject" and improved masking tools (CC 2020+) make the process faster, but the core technique is timeless.
How long does a realistic composite take?
For beginners: 1-2 hours. With practice: 20-45 minutes. The masking and shadow creation take the most time. Speed comes with repetition.
Can I do this on an iPad with Photoshop?
Yes! Photoshop for iPad now supports most features needed for this project, including layers, masking, and adjustment tools. The touch interface is great for brush-based shadow work.

