Master the art of audio editing with our complete guide covering everything from basic techniques to advanced professional methods.
🎵 Introduction
Audio editing is the art and science of manipulating sound recordings to achieve desired results, whether for music production, podcast creation, film soundtracks, or any other audio-related project. In today's digital age, the ability to edit audio has become an essential skill across numerous industries and creative endeavors.
From the music producer crafting the perfect track to the podcaster ensuring crystal-clear dialogue, audio editing serves as the bridge between raw recordings and polished, professional content. The importance of quality audio cannot be overstated – poor audio quality can instantly diminish the impact of even the most compelling content, while expertly edited audio can elevate and transform ordinary recordings into extraordinary experiences.
🎯 What You'll Learn in This Guide:
- Fundamental audio concepts and terminology
- Essential and advanced editing techniques
- Professional software recommendations and comparisons
- Industry best practices and common pitfalls to avoid
- Specialized approaches for different types of audio content
Whether you're a complete beginner taking your first steps into audio editing or an experienced creator looking to refine your skills, this comprehensive guide will provide you with the knowledge and techniques needed to produce professional-quality audio content. Let's embark on this journey to master the fascinating world of audio editing.
🔊 Understanding Audio Basics
Sound Waves and Digital Audio
Before diving into editing techniques, it's crucial to understand the fundamental nature of sound itself. Sound waves are vibrations that travel through air (or other mediums) and are characterized by several key properties that directly impact how we edit and manipulate audio.
🌊 Frequency
Measured in Hertz (Hz), frequency determines the pitch of a sound. Human hearing typically ranges from 20 Hz to 20,000 Hz (20 kHz). Lower frequencies produce bass sounds, while higher frequencies create treble.
📈 Amplitude
Amplitude represents the volume or loudness of a sound, measured in decibels (dB). Greater amplitude means louder sound, and this is what we adjust when changing volume levels in our editing software.
When sound waves are converted to digital format, they undergo a process called analog-to-digital conversion. This process involves sampling the continuous sound wave at regular intervals and converting these samples into digital data that computers can process and manipulate.
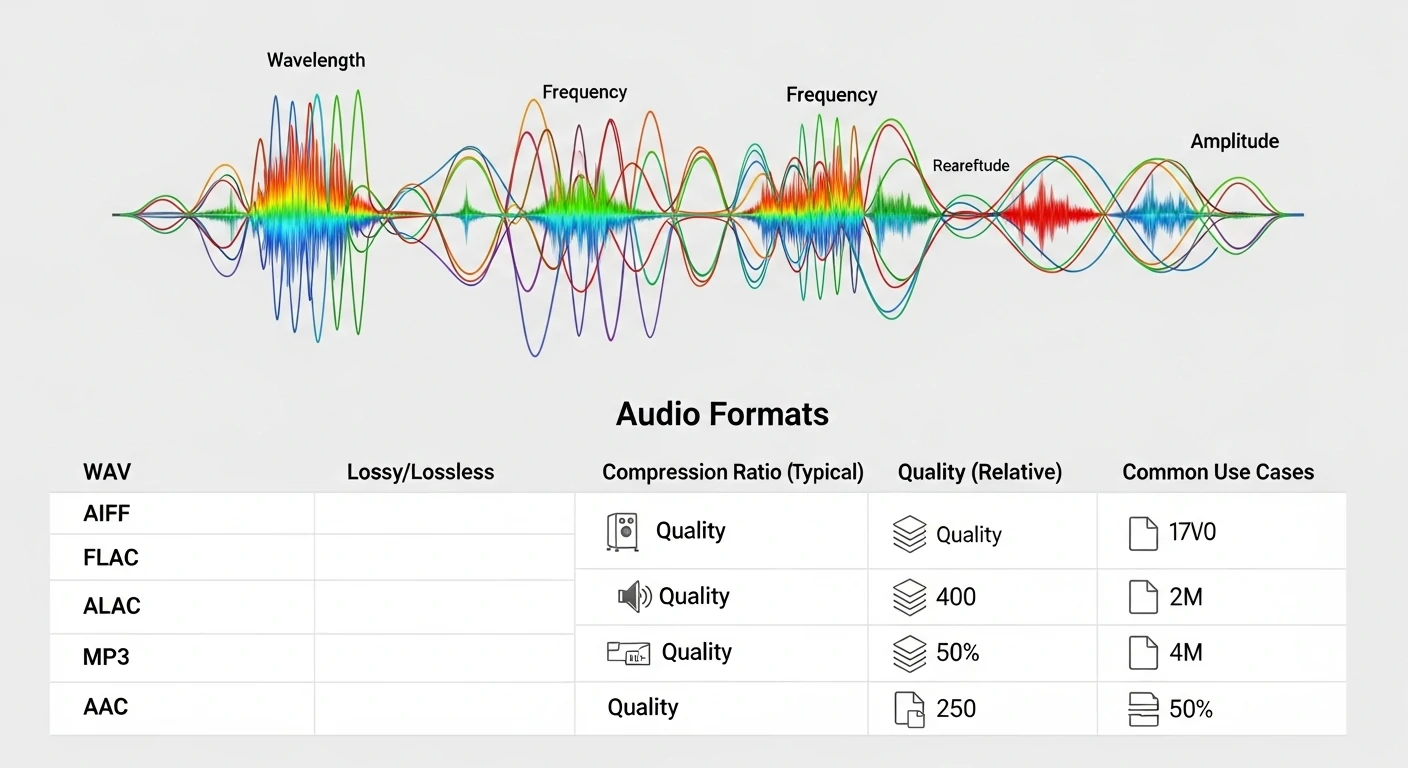
Audio Formats and Their Applications
Understanding different audio formats is essential for choosing the right format for your specific needs. Each format has its own characteristics, advantages, and ideal use cases:
WAV (Waveform Audio File Format)
Quality: Uncompressed, lossless
File Size: Large
Best For: Professional recording, editing, and mastering where quality is paramount
MP3 (MPEG Audio Layer III)
Quality: Compressed, lossy
File Size: Small
Best For: Streaming, podcasts, and general distribution where file size matters
AIFF (Audio Interchange File Format)
Quality: Uncompressed, lossless
File Size: Large
Best For: Mac-based professional audio work, similar to WAV but Apple's standard
FLAC (Free Lossless Audio Codec)
Quality: Compressed, lossless
File Size: Medium
Best For: High-quality archival and distribution with smaller file sizes than WAV
⚠️ Important Consideration
Always work with the highest quality format possible during editing (typically WAV or AIFF), and only compress to formats like MP3 for final distribution. Once audio is compressed with a lossy format, the quality loss is permanent.
Understanding these fundamental concepts provides the foundation for all audio editing work. As we progress through this guide, we'll see how these principles apply to practical editing techniques and decision-making processes that will help you achieve professional results in your audio projects.
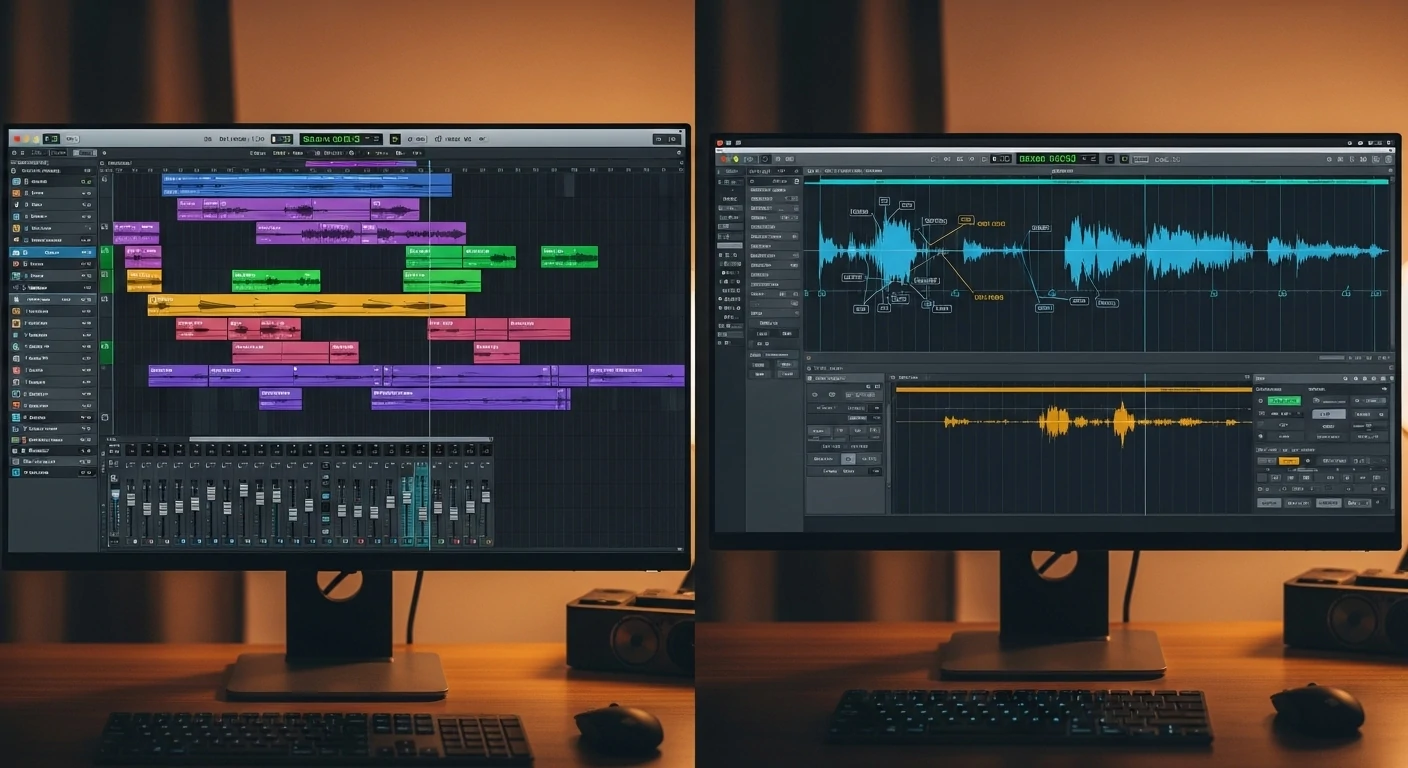
💻 Essential Audio Editing Software
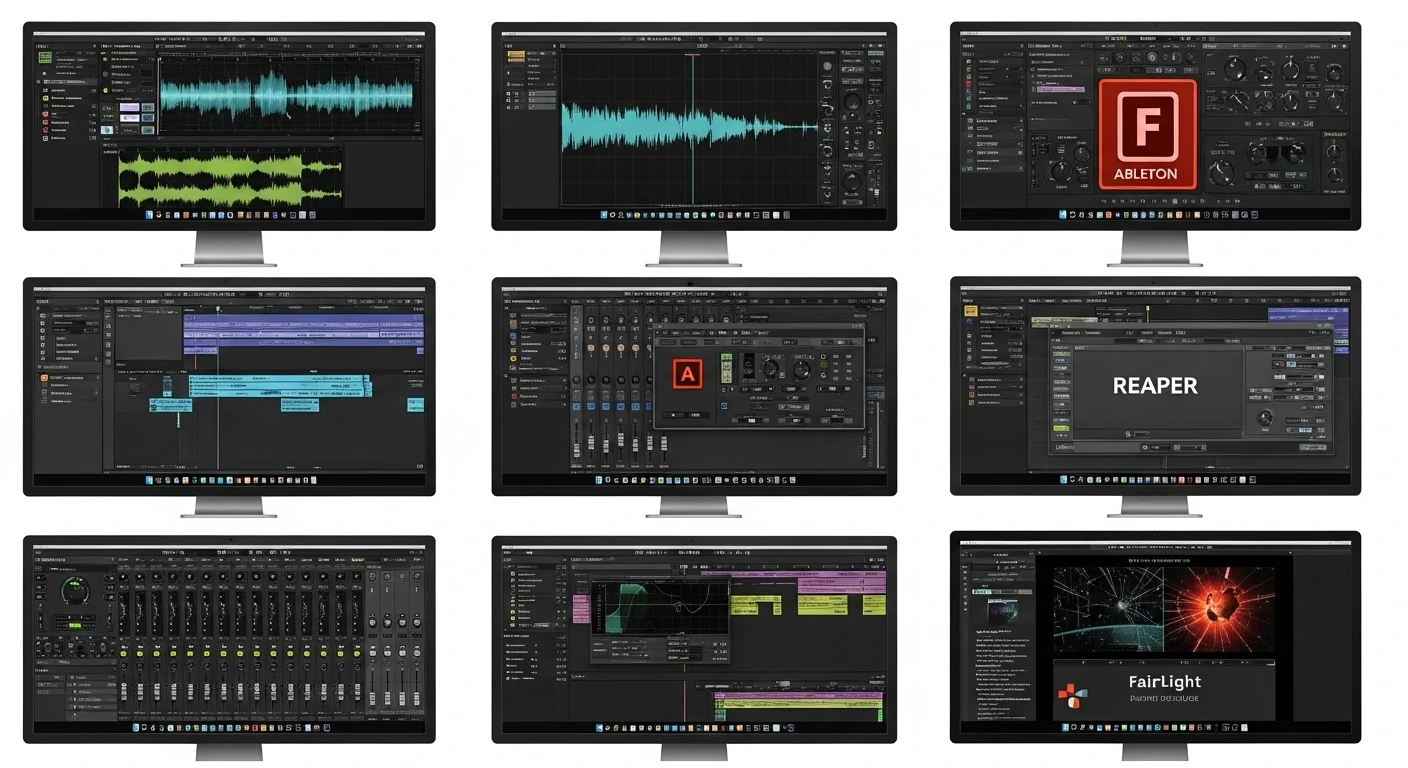
Choosing the right audio editing software is crucial for your success in audio production. The market offers a wide range of options, from free, beginner-friendly tools to professional-grade software used in major recording studios. Here's a comprehensive overview of the most popular and effective audio editing software available today.
Audacity
Free
✅ Pros:
- Completely free and open-source
- Cross-platform compatibility (Windows, Mac, Linux)
- Extensive plugin support
- Large community and abundant tutorials
- Supports multiple audio formats
- Perfect for beginners and basic editing tasks
❌ Cons:
- Interface can feel outdated
- Limited advanced features compared to paid software
- No real-time effects processing
- Can be unstable with very large files
Best For: Beginners, podcasters, basic audio editing, educational purposes, and anyone on a tight budget.
Adobe Audition
Subscription
✅ Pros:
- Professional-grade features and quality
- Excellent noise reduction capabilities
- Seamless integration with other Adobe products
- Advanced spectral editing tools
- Real-time effects and processing
- Regular updates and new features
❌ Cons:
- Expensive monthly subscription model
- Steep learning curve for beginners
- Requires powerful hardware for optimal performance
- Overkill for simple editing tasks
Best For: Professional audio editors, content creators working within Adobe ecosystem, advanced podcast production, and commercial audio work.
GarageBand
Free (Mac only)
✅ Pros:
- Free with Mac computers
- Intuitive, user-friendly interface
- Great for music creation and editing
- Built-in instruments and loops
- Seamless integration with Logic Pro
- Perfect for beginners
❌ Cons:
- Mac exclusive
- Limited advanced editing features
- Not ideal for professional audio editing
- Fewer export options
Best For: Mac users, music enthusiasts, beginners learning audio editing, and casual content creators.
Reaper
Affordable License
✅ Pros:
- Very affordable one-time purchase
- Highly customizable interface
- Excellent performance and stability
- Supports unlimited tracks and plugins
- Regular updates included in license
- Professional features at budget price
❌ Cons:
- Interface can be overwhelming initially
- Requires time to customize and learn
- Less intuitive than some alternatives
- Smaller community compared to major brands
Best For: Budget-conscious professionals, power users who like customization, and anyone wanting professional features without subscription costs.
🎯 Choosing the Right Software
Consider these factors when selecting your audio editing software:
- Budget: Free options like Audacity are great for beginners
- Experience Level: Start simple and upgrade as your skills develop
- Project Requirements: Match software capabilities to your specific needs
- Platform: Ensure compatibility with your operating system
- Future Growth: Consider software that can grow with your advancing skills
✂️ Basic Audio Editing Techniques

Mastering basic audio editing techniques forms the foundation of all professional audio work. These fundamental skills are essential whether you're editing a podcast, cleaning up a music recording, or preparing audio for video content. Let's explore each technique with detailed, step-by-step instructions.
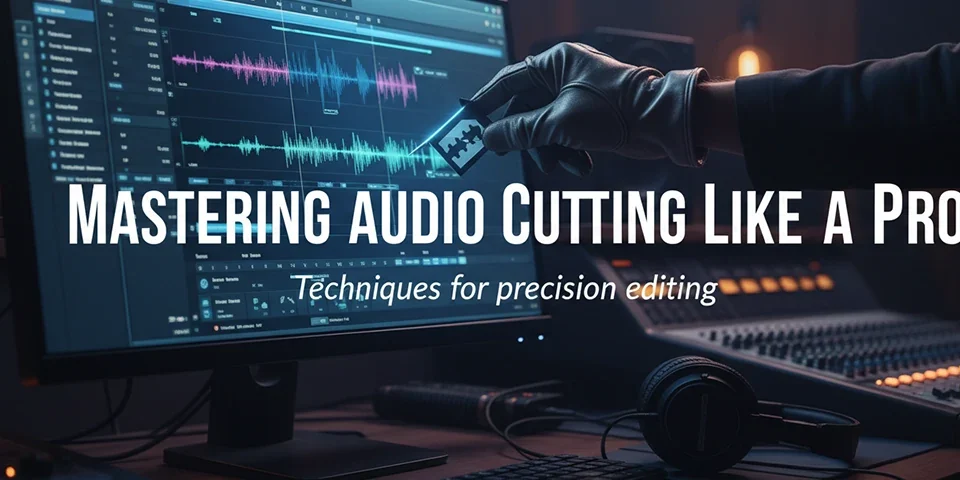
🔪 Cutting and Trimming
Cutting and trimming are the most fundamental audio editing operations. These techniques allow you to remove unwanted sections, create precise edits, and arrange audio segments exactly as needed.
📋 Step-by-Step Guide:
- Select the Audio: Click and drag to highlight the portion you want to cut or trim
- Position the Playhead: Use the timeline cursor to mark exact cut points
- Make the Cut: Use Ctrl+X (Windows) or Cmd+X (Mac) to cut selected audio
- Trim Edges: Drag the edges of audio clips to adjust their start and end points
- Preview Changes: Always listen to your edits before finalizing
✅ Best Practices:
- Cut at zero-crossing points to avoid clicks
- Leave small handles for fine adjustments
- Use keyboard shortcuts for efficiency
- Zoom in for precise editing
⚠️ Common Mistakes:
- Cutting mid-waveform causing pops
- Not leaving room for transitions
- Over-editing and losing natural flow
- Forgetting to save backup copies
🌅 Fading In and Out
Fades create smooth transitions by gradually increasing (fade in) or decreasing (fade out) the volume of audio. This technique is essential for professional-sounding edits and preventing abrupt audio changes.
Fade In Technique
Perfect for smooth introductions and eliminating harsh beginnings:
- Select the beginning portion of your audio (typically 0.5-3 seconds)
- Apply fade in effect from your software's effects menu
- Adjust the curve type (linear, exponential, or logarithmic) based on content
- Preview and adjust duration as needed
Fade Out Technique
Essential for natural endings and smooth transitions:
- Select the ending portion of your audio
- Apply fade out effect, typically longer than fade ins (1-5 seconds)
- Choose appropriate curve - exponential often sounds most natural
- Ensure the fade reaches complete silence
Crossfading
Seamlessly blend two audio segments:
- Overlap the end of one clip with the beginning of another
- Apply fade out to the first clip and fade in to the second
- Adjust overlap duration for smooth transition (usually 0.5-2 seconds)
- Fine-tune timing to match content rhythm
📊 Normalization
Normalization adjusts the overall volume of your audio to reach a target level, ensuring consistency across different recordings and optimal use of available dynamic range.
🎯 Understanding Normalization Types:
Peak Normalization:
Adjusts audio so the loudest peak reaches a specified level (e.g., -3dB). Best for maintaining dynamic range.
RMS Normalization:
Adjusts based on average loudness rather than peaks. Better for matching perceived loudness between tracks.
LUFS Normalization:
Modern standard that considers human hearing perception. Essential for broadcast and streaming platforms.
📋 Normalization Process:
- Analyze Your Audio: Check current peak and RMS levels
- Choose Target Level: -3dB for peak, -16 LUFS for streaming
- Apply Normalization: Use your software's normalize effect
- Verify Results: Check that levels meet your requirements
- Listen Test: Ensure audio sounds natural and undistorted
Music
-1 to -3dB peak
Preserve dynamics
Podcasts
-16 to -19 LUFS
Consistent loudness
Broadcast
-23 LUFS
Industry standard
🔊 Volume Adjustment and Gain Control
Precise volume control is essential for creating balanced, professional audio. Understanding the difference between gain and volume adjustments helps you make the right choice for each situation.
🎚️ Gain Adjustment
Changes the actual amplitude of the audio signal:
- Permanent change to audio data
- Can introduce distortion if overdone
- Best for correcting recording levels
- Use before other processing
🔊 Volume Control
Adjusts playback level without changing audio data:
- Non-destructive adjustment
- Can be automated over time
- Perfect for mixing and balancing
- Reversible at any time
💡 Pro Tips for Volume Management:
- Use automation to create smooth volume changes over time
- Apply gentle compression before manual volume adjustments
- Leave headroom - don't push levels to maximum
- Use reference tracks to compare your levels
- Monitor on different playback systems to ensure consistency
🎛️ Advanced Audio Editing Techniques
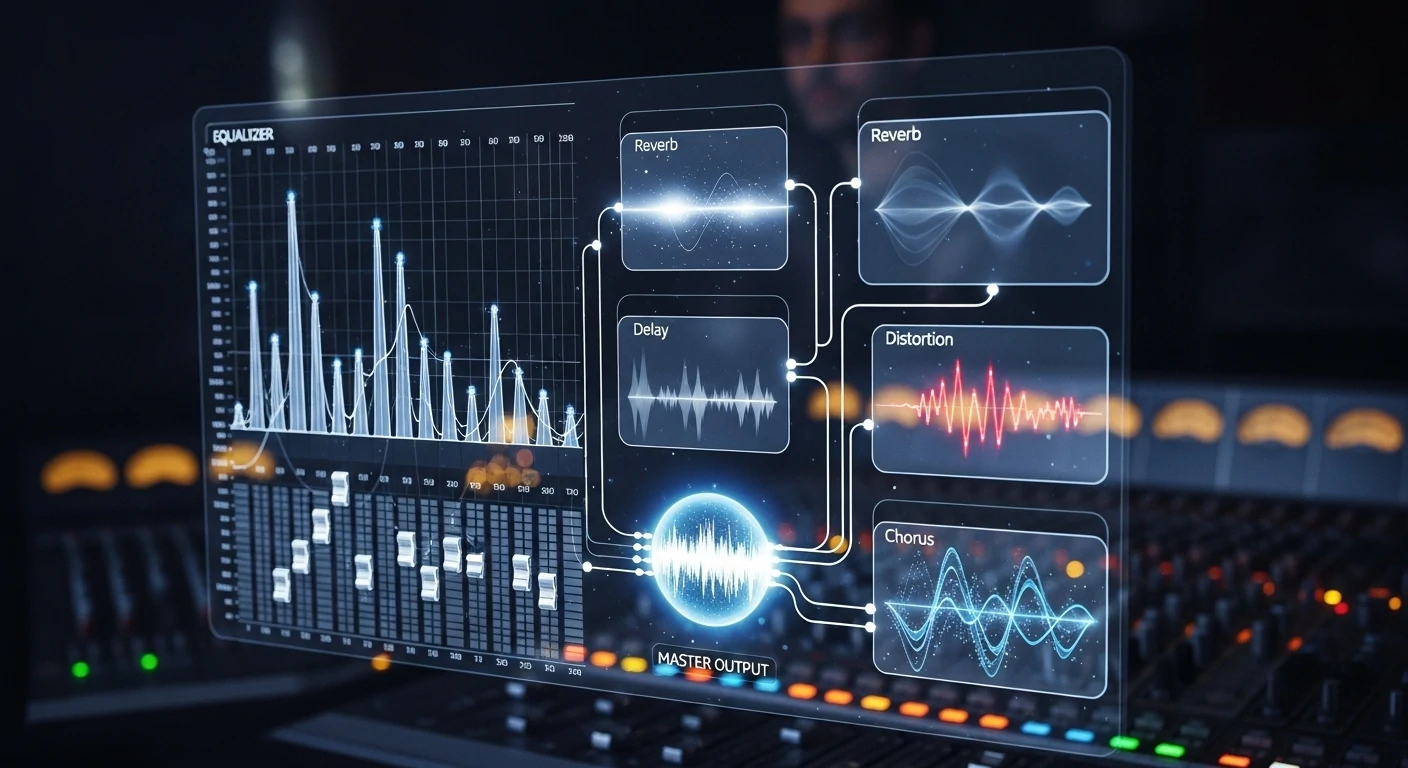
Advanced audio editing techniques separate amateur recordings from professional productions. These sophisticated tools and methods require deeper understanding but offer tremendous creative and corrective possibilities. Master these techniques to achieve broadcast-quality results.
🎚️ Equalization (EQ)
Equalization is the process of adjusting the balance of frequency components in audio. It's one of the most powerful tools for shaping sound character, correcting problems, and enhancing desired qualities.
🎯 Types of EQ
High-Pass Filter (HPF)
Removes low frequencies below a set point. Essential for eliminating rumble and unwanted bass.
Low-Pass Filter (LPF)
Removes high frequencies above a set point. Useful for reducing harshness and noise.
Parametric EQ
Adjusts specific frequency ranges with control over frequency, gain, and bandwidth (Q).
⚠️ EQ Guidelines
- Cut before you boost - removing problems is often better than adding
- Use narrow Q for surgical cuts, wide Q for musical boosts
- High-pass vocals around 80-100Hz to remove rumble
- Be subtle - small adjustments often yield better results
- Use your ears, not just visual feedback
Sub-Bass (20-60Hz)
Often cut in most content except music. Can cause muddiness and consume headroom.
Bass (60-250Hz)
Warmth and body. Boost for fullness, cut if muddy. Critical for music, less important for speech.
Low-Mids (250Hz-2kHz)
Fundamental frequencies of most instruments and voices. Handle with care - easy to make muddy.
High-Mids (2-6kHz)
Presence and clarity. Boost for intelligibility, cut if harsh. Most important for speech clarity.
Treble (6-20kHz)
Air and sparkle. Boost for brightness, cut for smoothness. Be gentle - easy to create harshness.
🗜️ Compression
Compression reduces the dynamic range of audio by automatically lowering the volume of loud parts. This creates more consistent levels and can add punch, sustain, and professional polish to recordings.
🎛️ Key Compression Parameters
Threshold
Level above which compression begins. Lower threshold = more compression.
Ratio
How much compression is applied. 4:1 means 4dB input becomes 1dB output above threshold.
Attack
How quickly compression engages. Fast attack tames transients, slow preserves punch.
Release
How quickly compression disengages. Affects pumping and naturalness.
Vocals
- Ratio: 3:1 to 6:1
- Attack: Medium (10-30ms)
- Release: Auto or 100-300ms
- Goal: Consistent intelligibility
Music
- Ratio: 2:1 to 4:1
- Attack: Slow (30-100ms)
- Release: Auto or program dependent
- Goal: Glue and cohesion
Drums
- Ratio: 4:1 to 10:1
- Attack: Fast (1-10ms)
- Release: Fast (50-200ms)
- Goal: Punch and control
🏛️ Reverb and Spatial Effects
Reverb simulates the natural reflections of sound in different spaces, adding depth, dimension, and ambiance to recordings. Understanding reverb types and applications is crucial for creating professional-sounding mixes.
🏠 Reverb Types and Applications
Room Reverb
Short, intimate reflections. Perfect for adding subtle space without overwhelming the source.
Hall Reverb
Long, lush reflections. Ideal for orchestral music and creating grandeur.
Plate Reverb
Vintage character with smooth decay. Classic choice for vocals and drums.
Spring Reverb
Distinctive "boing" character. Popular in guitar amplifiers and vintage recordings.
🎯 Reverb Best Practices
- Less is often more - subtle reverb sounds more natural
- Use pre-delay to separate direct sound from reverb
- High-cut the reverb to avoid muddiness
- Match reverb character to the content and genre
- Consider the listening environment when applying reverb
🔇 Noise Reduction and Audio Restoration
Noise reduction techniques are essential for cleaning up recordings and achieving professional quality. Modern software offers sophisticated tools for removing various types of unwanted noise while preserving the desired audio content.
🛠️ Common Noise Types
- Broadband Noise: Hiss, air conditioning, fan noise
- Tonal Noise: Electrical hum, computer fans
- Impulsive Noise: Clicks, pops, mouth sounds
- Intermittent Noise: Phone rings, doors, traffic
🎯 Noise Reduction Process
- Identify and analyze the noise characteristics
- Capture a noise profile from a quiet section
- Apply noise reduction with conservative settings
- Listen for artifacts and adjust parameters
- Use spectral editing for surgical removal
🎯 Reverb Best Practices
- Less is often more - subtle reverb sounds more natural
- Use pre-delay to separate direct sound from reverb
- High-cut the reverb to avoid muddiness
- Match reverb character to the content and genre
- Consider the listening environment when applying reverb
Spectral Editing
Visual frequency-based editing allows precise removal of specific noise components without affecting the rest of the audio. Essential for complex restoration work.
Adaptive Noise Reduction
Advanced algorithms that continuously analyze and adapt to changing noise characteristics throughout the recording, providing more natural results.
Multi-band Processing
Separate frequency bands allow targeted noise reduction in specific ranges while preserving important content in others.
🎵 Working with Music and Voiceovers
Music and voiceover editing require different approaches, techniques, and considerations. Understanding these distinctions is crucial for achieving optimal results in each domain. Let's explore the specialized techniques and best practices for both types of content.
🎼 Music Editing Techniques
Music editing focuses on preserving musical flow, maintaining rhythm, and enhancing the emotional impact of the performance. The approach differs significantly from speech editing due to music's continuous nature and harmonic complexity.
🎵 Key Music Editing Principles
- Preserve Musical Timing: Edit on beat boundaries when possible
- Maintain Harmonic Flow: Avoid cuts that create dissonance
- Respect Dynamic Changes: Don't over-compress musical dynamics
- Consider Genre Conventions: Different styles have different editing expectations
- Use Musical Transitions: Crossfades should follow musical phrasing
⚠️ Music Editing Challenges
- Tempo variations in live performances
- Bleed between instruments in multi-track recordings
- Maintaining stereo image and spatial relationships
- Preserving natural reverb and ambiance
- Balancing technical perfection with musical feel
🎚️ Music-Specific Techniques
Beat-Synchronized Editing
Align edits with musical beats to maintain rhythmic flow. Use tempo mapping and grid quantization for precision.
Comping and Composite Takes
Combine the best parts of multiple performances into a single, perfect take while maintaining musical continuity.
Time Stretching and Pitch Correction
Adjust timing and pitch while preserving musical character. Use sparingly to maintain natural sound.
Harmonic Editing
Consider chord progressions and harmonic relationships when making cuts to avoid musical conflicts.
🎤 Voiceover and Speech Editing
Voiceover editing prioritizes clarity, intelligibility, and natural speech flow. The goal is to create clean, professional-sounding dialogue that effectively communicates the intended message without distracting the listener.
🎯 Voiceover Editing Priorities
Primary Goals:
- Maximum intelligibility and clarity
- Consistent volume and tone
- Natural speech rhythm and pacing
- Removal of distracting elements
Common Tasks:
- Remove "ums," "ahs," and filler words
- Eliminate mouth clicks and breathing
- Adjust pacing and timing
- Match levels between different takes
🛠️ Essential Voiceover Processing Chain
1. High-Pass Filter (80-100Hz)
Remove low-frequency rumble and handling noise
2. De-esser
Reduce harsh sibilant sounds (S, T, Ch sounds)
3. Compression (3:1 to 6:1 ratio)
Even out volume variations for consistent delivery
4. EQ for Clarity (2-5kHz boost)
Enhance presence and intelligibility
5. Limiter (-3dB ceiling)
Prevent clipping and ensure consistent peaks
✅ Voiceover Best Practices
- Edit for natural speech patterns
- Preserve intentional pauses and emphasis
- Use room tone to fill gaps
- Match ambient characteristics between edits
- Test on various playback systems
❌ Common Voiceover Mistakes
- Over-processing that sounds unnatural
- Removing all breathing sounds
- Inconsistent room tone between cuts
- Too aggressive noise reduction
- Ignoring the speaker's natural rhythm
🎯 Specialized Considerations
📻 Podcast and Broadcast Standards
Loudness
-16 to -19 LUFS
Streaming platforms
Peak Levels
-3dB maximum
Prevent clipping
Dynamic Range
6-12 LU
Maintain interest
⚠️ Common Mistakes in Audio Editing
Even experienced editors can fall into common traps that compromise audio quality. Understanding these pitfalls and their solutions will help you avoid costly mistakes and achieve professional results more consistently.
🔄 Over-processing and Heavy-handed Effects
❌ The Problem:
- Applying too much compression, EQ, or effects
- Stacking multiple processors unnecessarily
- Using extreme settings that sound unnatural
- Processing for the sake of processing
✅ The Solution:
- Start with subtle settings and increase gradually
- Use bypass buttons to compare processed vs. unprocessed
- Ask "does this improve the audio?" before applying
- Take breaks to maintain objective perspective
🔇 Ignoring Room Tone and Ambient Consistency
❌ The Problem:
- Abrupt silence between audio segments
- Inconsistent background ambiance
- Jarring transitions between different recordings
- Not recording room tone during sessions
✅ The Solution:
- Always record 30-60 seconds of room tone
- Use room tone to fill gaps and create consistency
- Match ambient levels between different takes
- Create smooth transitions with crossfades
📊 Poor Level Management and Clipping
❌ The Problem:
- Pushing levels too hot, causing distortion
- Inconsistent volume between segments
- Not leaving headroom for mastering
- Ignoring loudness standards for distribution
✅ The Solution:
- Monitor levels constantly during editing
- Use limiters to prevent clipping
- Target appropriate loudness standards
- Leave 3-6dB of headroom for final processing
🎯 Editing Without Context or Reference
❌ The Problem:
- Making decisions in isolation
- Not considering the final listening environment
- Editing without reference tracks
- Losing perspective on the overall project
✅ The Solution:
- Use reference tracks for comparison
- Test on multiple playback systems
- Consider the content's intended use
- Step back and listen to the whole project
💡 Pro Tip:
Create a reference playlist of professionally produced content similar to your project. Regularly A/B compare your work against these references to maintain perspective and quality standards.
🔧 Technical and Workflow Mistakes
File Management Issues
- Not backing up project files
- Working with compressed audio formats
- Poor file naming conventions
- Not organizing project assets
Monitoring Problems
- Editing at inappropriate volume levels
- Using poor quality monitoring equipment
- Not checking mono compatibility
- Ignoring phase relationships
🎯 Finalizing Your Audio Project
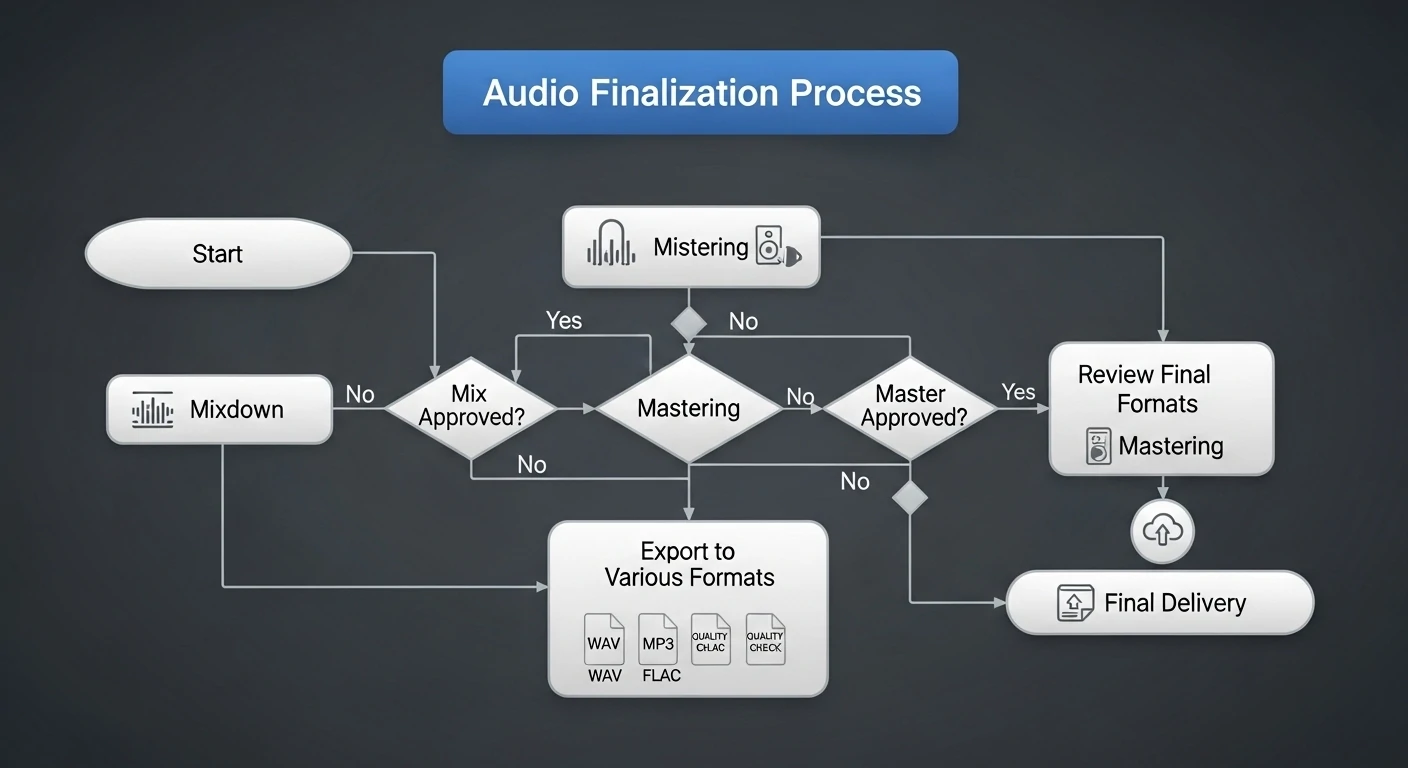
The finalization stage is crucial for ensuring your audio project meets professional standards and performs well across different platforms and playback systems. This process involves careful preparation, quality control, and strategic decision-making about formats and distribution.
📋 Pre-Export Quality Checklist
🔍 Technical Review:
- Check for clipping and distortion
- Verify consistent levels throughout
- Ensure proper fade-ins and fade-outs
- Remove unwanted noise and artifacts
- Confirm stereo imaging and phase coherence
🎵 Content Review:
- Listen to the entire project start to finish
- Check timing and pacing
- Verify all edits sound natural
- Ensure consistent tone and character
- Test on different playback systems
⚙️ Export Settings and Format Selection
Choosing the right export settings is crucial for maintaining quality while meeting the requirements of your intended distribution platform. Different uses require different approaches to file format, bit depth, and sample rate.
🎯 Format Selection Guide
Streaming Platforms (Spotify, Apple Music)
Format: WAV or FLAC
Sample Rate: 44.1kHz or 48kHz
Bit Depth: 24-bit
Loudness: -14 LUFS
Peak Level: -1dB
Format Note: Platforms will convert to their preferred format
Podcasts and Spoken Word
Format: MP3 (128-192 kbps) or AAC
Sample Rate: 44.1kHz
Channels: Mono or Stereo
Loudness: -16 to -19 LUFS
Peak Level: -3dB
Priority: File size vs. quality balance
Broadcast and Professional Use
Format: WAV or BWF (Broadcast Wave)
Sample Rate: 48kHz
Bit Depth: 24-bit
Loudness: -23 LUFS (EBU R128)
Peak Level: -3dB
Metadata: Include timecode and project info
Web and Social Media
Format: MP3 (192-320 kbps) or AAC
Sample Rate: 44.1kHz
Optimization: Small file size priority
Loudness: -12 to -14 LUFS
Peak Level: -1dB
Consideration: Platform-specific requirements
🔍 Final Quality Control Process
🎯 Multi-Stage Listening Test
- Studio Monitors: Check for technical issues and overall balance
- Headphones: Verify stereo imaging and detail resolution
- Consumer Speakers: Test how it sounds on typical playback systems
- Mobile Device: Ensure compatibility with smartphone speakers
- Car Audio: Test in a noisy environment with limited frequency response
⚠️ Red Flags to Watch For
- Distortion or clipping at any point
- Inconsistent volume levels
- Unnatural-sounding processing artifacts
- Phase issues causing hollow sound
- Excessive noise or unwanted sounds
- Poor translation across different systems
✅ Quality Indicators
- Clear, intelligible dialogue or vocals
- Consistent tonal balance throughout
- Appropriate dynamic range for content type
- Smooth, natural-sounding transitions
- Good translation across playback systems
- Meets technical specifications for intended use
📝 Metadata and Project Documentation
Proper metadata and documentation ensure your audio files are properly identified and can be easily managed in the future. This is especially important for professional and commercial projects.
🏷️ Essential Metadata:
- Title and artist/creator information
- Copyright and licensing details
- Creation date and version number
- Technical specifications summary
- Contact information for rights holder
📋 Project Documentation:
- Session notes and processing applied
- Source material and recording details
- Export settings and format rationale
- Backup locations and archive information
- Future revision or update plans
📚 Resources and Further Learning

Continuous learning is essential in the rapidly evolving field of audio editing. Whether you're just starting out or looking to advance your skills, these carefully curated resources will help you stay current with industry trends, techniques, and technologies.
🎓 Online Courses and Training
🌟 Beginner-Friendly Platforms
- Coursera - Audio Engineering Fundamentals
University-level courses covering audio theory and practical applications
- Udemy - Complete Audio Editing Masterclass
Hands-on training with multiple software platforms
- LinkedIn Learning - Audio Post Production
Professional workflows and industry standards
🏆 Advanced Specialization
- Berklee Online - Music Production
Professional music production and mixing techniques
- Pro Tools Expert - Certification Programs
Industry-standard software certification
- Sound on Sound - Masterclasses
In-depth tutorials from industry professionals
📖 Essential Books and Publications
📚 Must-Read Books
"The Mixing Engineer's Handbook" by Bobby Owsinski
Comprehensive guide to professional mixing techniques and workflows
"Audio Post Production for Film and Video" by Jay Rose
Essential resource for dialogue editing and sound design
"Mastering Audio" by Bob Katz
The definitive guide to audio mastering and loudness standards
"The Art of Digital Audio" by John Watkinson
Technical foundation of digital audio theory and practice
📰 Industry Publications
Sound on Sound
Monthly magazine with in-depth reviews and tutorials
Audio Media International
Professional audio industry news and trends
Pro Sound Network
Technical articles and equipment reviews
👥 Communities and Forums
🌐 Active Online Communities
General Audio Communities:
- Reddit r/audioengineering: Active community with daily discussions
- Gearslutz (now Gearspace): Professional audio equipment and techniques
- KVR Audio: Software-focused community and reviews
- Audio Issues Forum: Problem-solving and troubleshooting
Specialized Communities:
- Podcast Movement Community: Podcast-specific editing discussions
- Film Sound Org: Post-production and sound design
- Home Recording Forums: Budget-friendly solutions and tips
- Mastering Community: Advanced mastering techniques
🆓 Free Resources and Tools
🎥 YouTube Channels
- In The Mix: Comprehensive mixing and production tutorials
- Audio University: Technical concepts explained simply
- Booth Junkie: Voiceover and home studio focus
- Reid Stefan Music: Advanced mixing techniques
- Creative Sound Lab: Creative audio processing ideas
- Produce Like A Pro: Professional production insights
🛠️ Free Software and Plugins
DAW Software
- Audacity (Open Source)
- GarageBand (Mac)
- Reaper (60-day trial)
Free Plugins
- TDR Nova (EQ)
- OTT (Compressor)
- Valhalla Supermassive (Reverb)
Analysis Tools
- SPAN (Spectrum Analyzer)
- Youlean Loudness Meter
- Correlation Meter
🎯 Conclusion
Audio editing is both a technical craft and an artistic endeavor that requires patience, practice, and continuous learning. Throughout this comprehensive guide, we've explored the fundamental concepts, essential techniques, and professional practices that form the foundation of quality audio production.
🎵 Key Takeaways
Technical Mastery:
- Understanding audio fundamentals is crucial for making informed decisions
- Proper gain staging and level management prevent quality issues
- The right tools matter, but technique and knowledge matter more
- Quality monitoring and reference comparisons are essential
Creative Excellence:
- Serve the content - every edit should enhance the message
- Subtlety often produces better results than heavy processing
- Context and intended use should guide all editing decisions
- Continuous learning and experimentation drive improvement
Remember that becoming proficient in audio editing is a journey, not a destination. Each project presents unique challenges and learning opportunities. The techniques and principles covered in this guide provide a solid foundation, but your individual style and expertise will develop through hands-on experience and creative exploration.
🚀 Your Next Steps
- Start Small: Begin with simple projects to build confidence and muscle memory
- Practice Regularly: Consistent practice is more valuable than occasional marathon sessions
- Seek Feedback: Share your work with others and actively seek constructive criticism
- Study References: Analyze professionally produced content in your area of interest
- Stay Current: Follow industry developments and new techniques
- Build Your Network: Connect with other audio professionals and enthusiasts
The audio editing landscape continues to evolve with new technologies, platforms, and creative possibilities. Artificial intelligence, immersive audio formats, and cloud-based collaboration tools are reshaping how we approach audio production. By maintaining a strong foundation in core principles while staying open to innovation, you'll be well-equipped to adapt and thrive in this dynamic field.
🎊 Final Encouragement
Every professional audio editor started exactly where you are now. The difference between amateur and professional work often lies not in expensive equipment or complex techniques, but in attention to detail, understanding of fundamentals, and commitment to continuous improvement.
Trust your ears, be patient with the learning process, and most importantly, enjoy the creative journey ahead!
Ready to Start Your Audio Editing Journey?
Apply these techniques to your next project and experience the difference professional audio editing can make.
#AudioEditing#SoundDesign#Podcasting#MusicProduction#AudioEngineering

