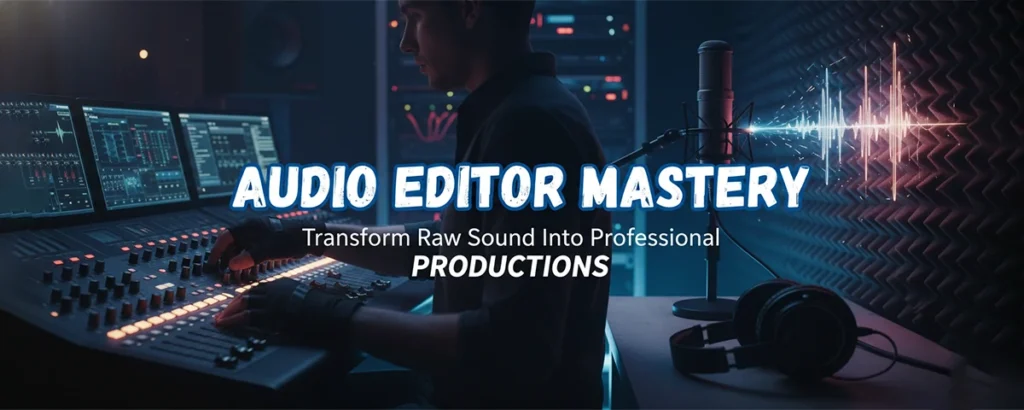
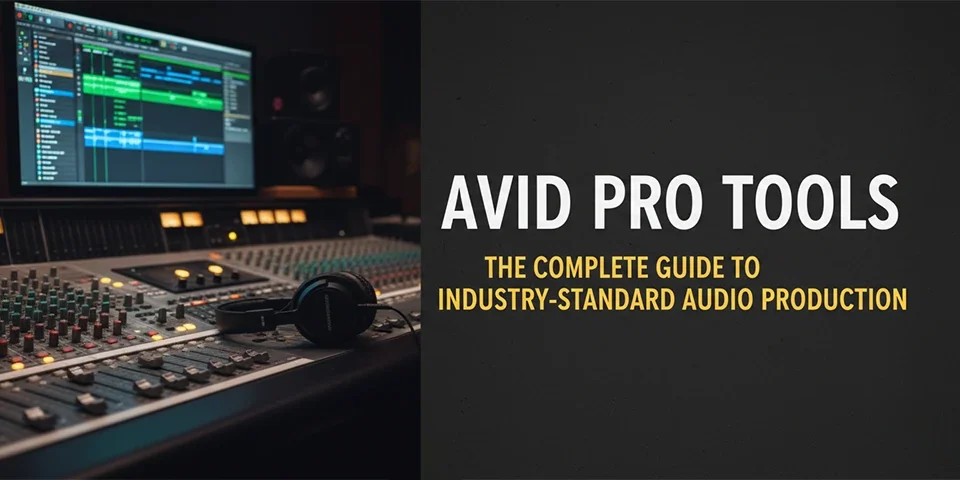
Learn the art and science of audio editing—from basic cuts to advanced restoration techniques that separate amateur recordings from broadcast-ready content.
Table of contents
- Key Takeaways
- What Is Audio Editing?
- Understanding Waveforms and Audio Data
- Essential Audio Editing Techniques
- Audio Cleanup and Restoration
- Working with Dialogue and Voice
- Music Editing Fundamentals
- Effects and Processing Essentials
- Workflow and Efficiency Tips
- Export and Delivery Formats
- Building Your Editing Skills
- Frequently Asked Questions
- The Invisible Art

Every piece of audio you've ever enjoyed—every podcast episode, every song, every movie soundtrack—passed through the hands of an audio editor. These unsung craftspeople transform imperfect recordings into seamless experiences, removing the coughs, the stumbles, the background noises, and the technical flaws that would otherwise distract from the content. Their invisible work makes the difference between amateur and professional.
Audio editing is both technical skill and artistic practice. The technical side involves understanding waveforms, frequencies, and digital audio principles. The artistic side requires an ear for rhythm, pacing, and emotional impact. Master both, and you'll possess a valuable skill applicable across music, podcasting, film, gaming, and countless other media.
This guide takes you inside the audio editor's world—exploring the tools, techniques, and workflows that professionals use daily. Whether you're cleaning up podcast recordings, producing music, or preparing audio for video, you'll find practical knowledge to elevate your work from rough cuts to polished productions.
Key Takeaways
- ✓ Audio editing fundamentals transfer across all software platforms and use cases
- ✓ Proper editing technique preserves audio quality while achieving creative goals
- ✓ Non-destructive workflows enable experimentation without risking original recordings
- ✓ Keyboard shortcuts and efficient workflows dramatically increase editing speed
- ✓ Quality monitoring through proper speakers or headphones is essential for accurate editing
What Is Audio Editing?
Audio editing is the process of manipulating recorded sound to achieve specific creative or technical goals. At its simplest, this means cutting out unwanted sections and arranging what remains. At its most complex, it involves reconstructing damaged recordings, synchronizing audio to video, or assembling thousands of individual elements into cohesive soundscapes.
The Audio Editor's Core Tasks
Trimming
Remove unwanted content
Arranging
Reorder and structure content
Repairing
Fix problems and noise
Enhancing
Improve quality and impact
The distinction between audio editing and audio mixing is often confused. Editing focuses on the content itself—what's included, what's removed, and how it's arranged. Mixing balances multiple audio elements together—adjusting volumes, applying effects, and creating spatial relationships. In practice, these disciplines overlap significantly, but understanding the distinction helps organize workflow and develop specialized skills.
"The best edits are invisible. When someone notices your edit, you've drawn attention away from the content. When they don't notice, you've succeeded perfectly."
Audio editors work across diverse industries. Podcast editors shape conversations into engaging episodes. Dialogue editors clean production audio for film and television. Music editors assemble takes into flawless performances. Sound designers create audio from scratch for games and animation. The core skills transfer between these specializations, even as specific techniques vary.
Understanding Waveforms and Audio Data
Before editing audio effectively, you must understand what you're looking at. Audio editors display sound as waveforms—visual representations of audio amplitude over time. Learning to read waveforms transforms editing from guesswork into precision work, allowing you to identify content, locate problems, and make accurate selections without constant playback.
Anatomy of a Waveform
A waveform displays the intensity of sound over time. The horizontal axis represents time, moving left to right. The vertical axis represents amplitude—how loud the sound is at each moment. Louder sounds create taller peaks; quiet sounds create smaller wiggles; silence appears as a flat line at center.
Reading Waveforms
Loud Sections
Tall, dense waveforms indicate loud content—shouting, loud music, or percussive hits. Peaks approaching the top indicate potential clipping.
Quiet Sections
Small, subtle waveforms represent quiet content. Very quiet sections might contain room tone, breath sounds, or low-level noise.
Speech Patterns
Voice recordings show characteristic patterns—bursts of activity during words separated by gaps during pauses and breaths.
Music Structure
Musical waveforms reveal structure—verses versus choruses, drum hits, instrumental breaks. Learn to identify sections visually.
Sample Rate and Bit Depth
Digital audio consists of samples—snapshots of audio amplitude captured many times per second. Sample rate determines how many snapshots per second (44,100 for CD quality, 48,000 for video, 96,000+ for high-resolution audio). Bit depth determines the precision of each snapshot (16-bit for CD, 24-bit for professional work). Higher values mean better quality but larger files.
When editing, work at the highest quality your source provides. Converting to lower quality happens at export, not during editing. If your source is 24-bit/48kHz, edit at 24-bit/48kHz. Downconverting during editing discards information you might need later.

Essential Audio Editing Techniques
Certain techniques form the foundation of all audio editing work. Master these fundamentals, and you'll have tools applicable to any project type, any software platform, and any audio challenge you encounter.
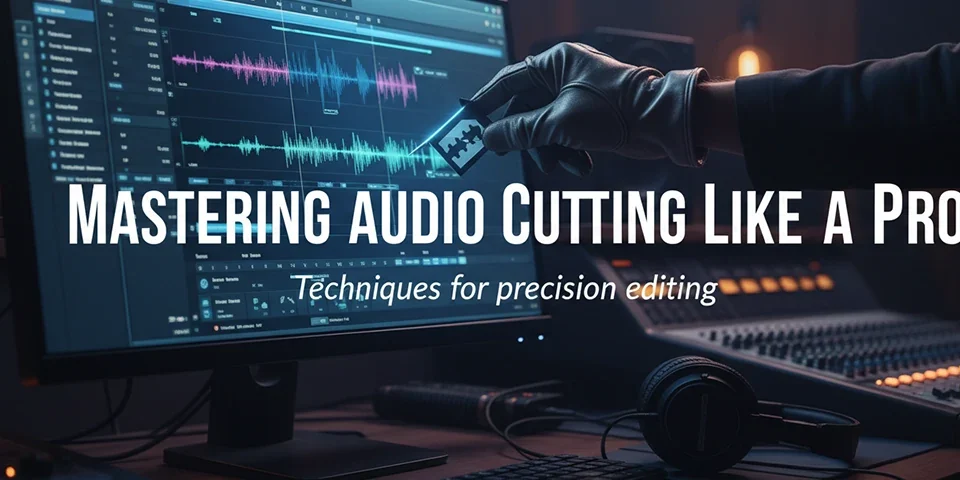
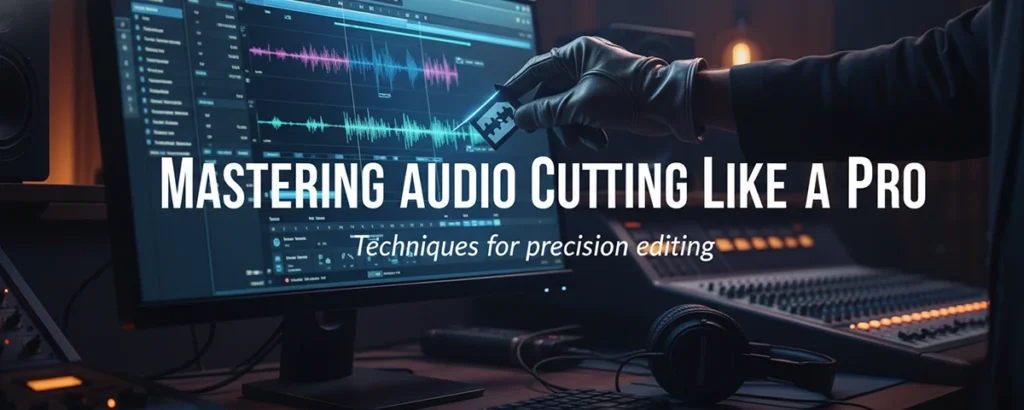
Making Clean Cuts
The most basic operation—cutting audio—is also where many editors make mistakes. Clean cuts occur at zero-crossing points, where the waveform crosses the center line. Cutting at peaks or troughs creates audible clicks. Most software includes zero-crossing snap options; enable them and never worry about click artifacts again.
❌ Bad Cut Points
- Middle of words
- During breaths
- At waveform peaks
- Mid-note in music
✓ Good Cut Points
- Natural pauses
- Between sentences
- Zero-crossing points
- Beat boundaries in music
Crossfades: The Editor's Best Friend
When two audio regions meet, crossfades create smooth transitions. The outgoing audio fades out while incoming audio fades in, blending them briefly. Even very short crossfades (5-20 milliseconds) eliminate clicks at edit points. Longer crossfades create gradual transitions useful for blending scenes or musical sections.
Crossfade shape matters. Linear crossfades work for most editing. Equal-power crossfades maintain consistent volume through the transition—essential when both audio sources contain significant content. Experiment with different curves; the right choice depends on the material.
Selection Precision
Accurate selection precedes accurate editing. Learn your software's selection tools thoroughly. Snap to grid for rhythm-based work. Use modifier keys for fine adjustment. Practice selecting exactly what you need without grabbing adjacent content. Time spent mastering selection saves time on every future edit.
Pro Tip: Use keyboard shortcuts for selection edges. Most software lets you adjust selection start and end points with arrow keys while holding modifier keys. This micro-adjustment capability enables frame-accurate editing without tedious mouse work.
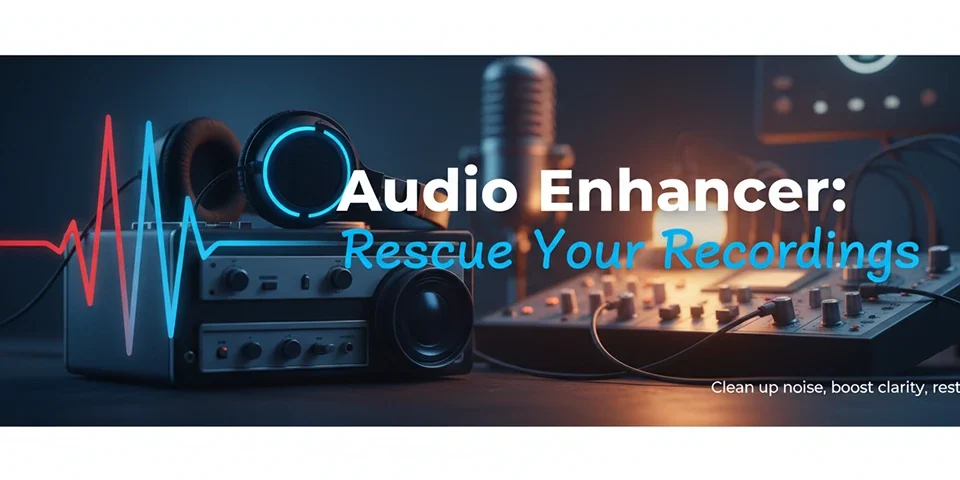
Audio Cleanup and Restoration
Real-world recordings rarely arrive perfect. Background noise, room echo, electrical hum, mouth clicks, and other artifacts compromise audio quality. Audio editors spend significant time cleaning recordings—removing problems while preserving the desired content. This restoration work often determines whether audio is usable.
Common Audio Problems
🔇 Background Noise
Air conditioning, traffic, computer fans—constant low-level sounds contaminating recordings. Addressable with noise reduction tools.
⚡ Electrical Hum
60Hz (US) or 50Hz (Europe) hum from power lines. Notch filters or specialized dehum tools remove these tonal artifacts.
💨 Plosives
"P" and"B" sounds creating low-frequency blasts. High-pass filtering or manual editing resolves most plosive issues.
👄 Mouth Clicks
Saliva sounds, lip smacks, and tongue clicks. Specialist de-click tools or manual removal addresses these distracting artifacts.
🏫 Room Echo
Reverberant sound from recording environments. Difficult to remove completely; prevention through acoustic treatment is better.
⚠ Clipping
Distortion from audio exceeding maximum levels. Declipping tools can help, but severe clipping is often unrecoverable.
Noise Reduction Fundamentals
Noise reduction works by analyzing a sample of"noise only" audio, then removing that sonic fingerprint from the entire recording. The process involves capturing a noise profile from a silent section, adjusting reduction strength (too much creates artifacts), and applying carefully to preserve natural sound quality. Always listen critically after processing—aggressive noise reduction sounds worse than moderate noise.
"The goal isn't eliminating every trace of noise—it's reducing noise until it's no longer distracting. Over-processed audio with weird artifacts is worse than audio with some natural room tone."
Working with Dialogue and Voice
Dialogue editing presents unique challenges. Human speech contains meaning, emotion, and rhythm that editing must preserve. Unlike music with its forgiving rhythmic grid, dialogue demands attention to natural speech patterns, breathing, and the subtle timing that makes conversation feel real.
Podcast and Interview Editing
Podcast editing balances multiple goals: removing errors and filler words, maintaining natural flow and pacing, ensuring consistent audio quality, and respecting the original conversation's character. Aggressive editing can destroy authentic conversational rhythm; too little editing leaves distracting flaws.
What to Remove
- False starts and restarts
- Extended"um" and"uh" sounds
- Tangents that don't serve the content
- Technical interruptions
- Excessive silence or dead air
What to Preserve
- Natural speech rhythm
- Emotional moments and reactions
- Thoughtful pauses for emphasis
- Conversational authenticity
- Speaker personality and style
Managing Breaths
Breath sounds require thoughtful handling. Removing all breaths creates robotic, unnatural speech. Leaving prominent breaths distracts listeners. The solution: reduce breath volume rather than eliminating breaths entirely, keep breaths in natural pacing positions, remove only genuinely distracting gasps or inhales, and maintain consistent breath handling throughout the piece.

Music Editing Fundamentals
Music editing operates within rhythm's strict framework. Edits must land on beats or divisions of beats to maintain musical flow. This constraint actually simplifies editing—once you identify the tempo grid, edit points become obvious. Working to grid also enables precise timing adjustments impossible with dialogue.
Beat-Based Editing
Most music editing software supports tempo and grid settings. Set your project tempo to match the music, enable grid snap, and edit points automatically align to musical divisions. This grid-based approach enables cutting between song sections, creating loops from phrases, editing to picture precisely, and building arrangements from components.
Music Editing Applications
Comping: Building the Perfect Take
Recording multiple takes and combining their best parts—comping—is standard practice in professional music production. The process involves recording several complete performances, identifying the best sections from each take, assembling a composite from these selections, and using crossfades to hide edit points. The result sounds like one flawless performance while actually drawing from multiple attempts.
Effects and Processing Essentials
Audio effects modify sound characteristics to solve problems or achieve creative goals. Understanding core effect categories enables informed processing decisions. These tools extend editing capabilities beyond cutting and arranging into shaping audio's fundamental qualities.
Equalization (EQ)
Adjust frequency balance—boost or cut specific ranges
Compression
Control dynamic range—tame peaks, add consistency
Reverb
Add spatial dimension—simulate acoustic environments
Normalization
Adjust overall level—maximize volume, match loudness
Destructive vs. Non-Destructive Processing
Non-destructive processing applies effects without permanently altering source files. Changes remain adjustable; original audio survives. Destructive processing permanently modifies files—useful for batch processing or final renders, but irreversible. Professional workflows prefer non-destructive approaches, preserving flexibility throughout the project.
Important: Always maintain original, unprocessed backups of your source recordings. No matter how careful your editing, sometimes you'll need to start over or approach differently. The few gigabytes of backup storage are worth far more than re-recording or compromising your project.
Workflow and Efficiency Tips
Professional audio editors move through material quickly—not through rushing, but through optimized workflows that eliminate wasted motion. The difference between a 2-hour edit and a 6-hour edit often isn't the project complexity but the editor's efficiency. These practices compound; small improvements yield major time savings across a career.
Keyboard Shortcuts
Mouse clicking wastes time. Every operation you perform frequently deserves a memorized keyboard shortcut. Priority shortcuts include play/pause, cut/split, delete selection, zoom in/out, navigate to next/previous edit, and undo/redo. Learn a few shortcuts weekly until your most common operations require no mouse movement.
Essential Workflow Practices
Organize Before Editing
Name files clearly, create folder structures, and establish project templates before starting work.
Edit in Passes
Focus on one type of edit per pass—rough cuts first, then cleanup, then fine-tuning. Context-switching slows you down.
Use Markers and Regions
Mark important points and sections as you review. These navigation aids speed up subsequent editing passes.
Save Versions, Not Just Progress
Create named versions at significant milestones."Episode_rough_v1" tells you more than"Episode_backup3".
Monitoring and Listening Environment
You can't edit what you can't hear. Quality monitoring through studio headphones or speakers reveals problems invisible on consumer equipment. Edit in a quiet environment where subtle audio details are audible. Take breaks to prevent ear fatigue that compromises judgment. Your ears are your primary tool—protect and calibrate them.
Export and Delivery Formats
Finished edits require export to delivery formats appropriate for their destination. Different platforms and purposes demand different specifications. Understanding format options ensures your carefully edited audio arrives at listeners without quality loss or compatibility issues.
Common Audio Formats
Loudness Standards
Different platforms enforce different loudness standards. Podcasts typically target -16 LUFS (stereo) or -19 LUFS (mono). Broadcast requires -24 LUFS. Streaming platforms normalize to around -14 LUFS. Export at the right loudness for your platform—too quiet gets boosted (adding noise), too loud gets turned down (wasting headroom you optimized for).
Building Your Editing Skills
Audio editing skills develop through deliberate practice. Reading about techniques provides foundation, but proficiency comes from hours of hands-on work. Approach skill development systematically, and you'll progress from beginner to competent editor faster than through random experimentation.
🎫 Practice Projects
Edit freely available audio—podcast transcripts, creative commons music, public domain recordings. Real material teaches faster than artificial exercises.
🎧 Critical Listening
Analyze professional audio critically. How did they handle transitions? Where are the edit points? What processing do you hear? Reverse-engineering teaches technique.
📚 Continuous Learning
Follow tutorials, read documentation, join communities. Audio technology evolves; ongoing learning keeps skills current and introduces new approaches.
💬 Get Feedback
Share your work and request specific feedback. Fresh ears catch problems you've become deaf to. Constructive criticism accelerates improvement.
"Every hour spent editing makes you better at editing. There's no shortcut. But deliberate practice—focusing on specific skills rather than just completing tasks—multiplies the value of every hour invested."
Frequently Asked Questions
What's the best free audio editor for beginners?
Audacity remains the top recommendation for beginners—it's free, cross-platform, and genuinely capable. For Mac users, GarageBand offers a more polished interface with basic editing plus music creation tools. Both are excellent starting points before investing in professional software.
How long does it take to edit one hour of audio?
Editing time varies dramatically with content type and quality standards. Light cleanup might take 1:1 (one hour of editing per hour of audio). Heavy podcast editing often runs 3:1 or 4:1. Complex music editing can exceed 10:1. With practice, ratios improve, but expecting instant editing is unrealistic.
Can I fix bad recordings with editing?
To an extent. Modern tools can reduce noise, remove clicks, and even diminish room echo. However, editing can't create quality that wasn't recorded. Severe problems—heavy clipping, overwhelming noise, extreme echo—may be unfixable. Prevention through good recording practice is always better than post-production repair.
Should I edit with headphones or speakers?
Both have roles. Quality studio headphones reveal detail and work in any environment—essential for detecting subtle problems. Studio monitors show how audio translates to speakers and reduce ear fatigue for long sessions. Ideally, check your work on both before finalizing.
How do I make my edits sound natural?
Natural edits preserve rhythm and flow. Cut at natural pause points, not mid-thought. Use room tone to fill gaps rather than pure silence. Apply short crossfades at every edit point. Listen to the edit in context, not just isolated—how does it flow from what comes before into what follows?
The Invisible Art
Audio editing is the invisible art that shapes how we experience sound. Every smooth podcast conversation, every polished song, every immersive film soundtrack passed through an editor's skilled hands. That editor made countless decisions—cuts, adjustments, repairs, enhancements—that the audience never notices because the work was done well.
Mastering audio editing takes time. The techniques in this guide provide foundation, but proficiency develops through practice. Start with simple projects. Build complexity gradually. Learn your tools deeply before seeking new ones. The path from novice to professional is measured in hours of focused work, not software purchases or tutorial consumption.
The democratization of audio technology means anyone can begin this journey today. Free software delivers professional capabilities. Online resources provide unlimited learning. The only barrier is starting. Open your editor, import some audio, and begin. Every edit you make develops skills that compound over time into genuine expertise.
Kevin Nakamura
Professional Audio Editor & Sound Designer
Kevin has edited audio professionally for over 12 years, working across podcasts, music, film, and game audio. His credits include top-ranking podcasts, indie game soundtracks, and documentary films. He teaches audio production online and at community colleges, believing that quality audio skills should be accessible to everyone. When not editing, he's probably listening critically to something most people would just call"background noise."
