How to Speed Up Video in Premiere Pro: Complete Tutorial for 2026
Master the art of speed manipulation in Adobe Premiere Pro. Learn multiple methods to speed up your videos for dynamic edits, fast-forward effects, and compelling storytelling.
 Pro Pixel Agency
Master the art of speed manipulation in Adobe Premiere Pro. Learn multiple methods to speed up your videos for dynamic edits, fast-forward effects, and compelling storytelling.
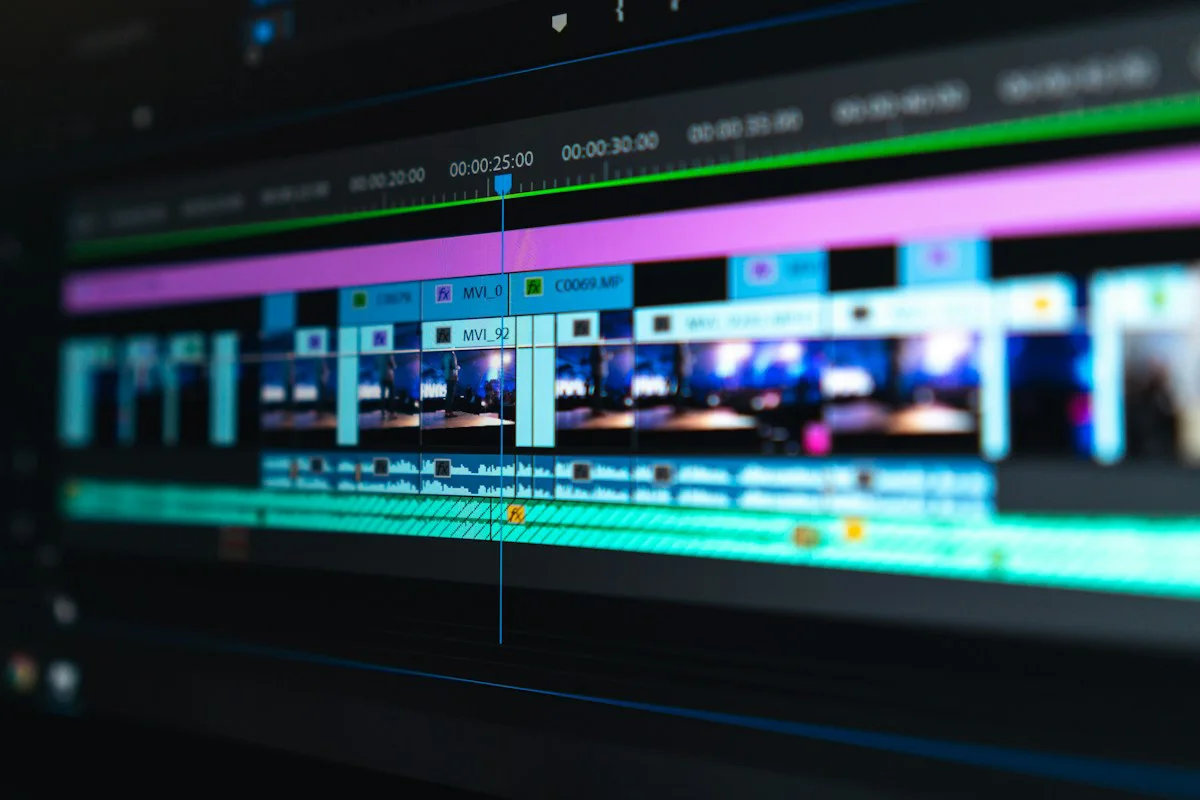
Learn different methods to speed up videos in Premiere Pro
Why Speed Up Your Videos?
Speed manipulation is one of the most powerful techniques in video editing. Whether you're creating a fast-paced montage, showing a time-lapse of a sunset, adding dramatic emphasis to a moment, or simply trimming dead space from your footage, understanding how to control speed gives you incredible creative flexibility.
Beyond simple fast-forward effects, speed manipulation helps you maintain rhythm and pacing that keeps viewers engaged. Long, slow sections can lose audience attention, while strategically speed up footage keeps your video dynamic and energetic. This technique is essential for travel videos, sports highlights, event coverage, and any content where you want to convey energy and momentum.
Premiere Pro offers multiple methods for adjusting video speed, each with distinct advantages suited to different situations. Understanding these approaches lets you choose the right tool for any creative challenge, ensuring your final output looks professional and achieves your intended effect.
Method 1: Speed/Duration Dialog Box
The most direct way to change clip speed in Premiere Pro is through the Speed/Duration dialog. This method provides precise control over exactly how fast or slow your footage plays.
Step-by-Step: Using Speed/Duration
- Right-click on your clip in the timeline
- Select "Speed/Duration" from the context menu
- The Speed/Duration dialog will appear
- Enter your desired speed percentage (e.g., 200% for 2x speed)
- Choose whether to "Ripple Edit" to fill gaps
- Click OK to apply the speed change
The Speed/Duration dialog offers several options. The speed field accepts any percentage—you can enter 50% for half speed (slow motion), 200% for double speed (fast forward), or even 400% for four times normal speed. The linked chain icon maintains the duration relationship, while unlinking lets you adjust speed and duration independently.
The "Ripple Edit" option determines what happens to your timeline after applying speed changes. With ripple enabled, downstream clips shift to fill any gap created by the speed change. Without ripple, you create empty space that you can manually fill or leave as a transition.
Method 2: Using the Rate Stretch Tool
For more intuitive speed adjustments directly in the timeline, the Rate Stretch tool provides a visual approach. This tool lets you grab a clip edge and drag to change duration, automatically calculating the corresponding speed change.
Activating the Rate Stretch Tool
Press R on your keyboard to activate the Rate Stretch tool, or select it from the tool panel. Once active, your cursor changes to indicate the tool is ready. Position your cursor over the end of any clip in the timeline—you'll see the clip edge become highlighted.
Click and drag the clip edge inward to speed up the footage, or outward to slow it down. As you drag, Premiere Pro shows the new duration and speed percentage in a floating tooltip. Release when you've reached your desired speed, and the clip adjusts accordingly.
This method is particularly useful when you want to fit a clip into a specific timeline duration. Rather than calculating percentages, you simply drag until the clip fits where you want it. Premiere Pro automatically calculates the appropriate speed to make the clip match your desired length.
Keyboard Shortcut for Speed
After stretching a clip with the Rate Stretch tool, you can fine-tune the speed using keyboard shortcuts. Select your clip and press Shift+K to cycle through common speed options, or use the comma and period keys for frame-by-frame trimming that slightly adjusts speed. These shortcuts let you quickly dial in exactly the right speed without opening dialogs.
Speed/Duration Dialog
Best for precise percentage control and setting specific speeds
Rate Stretch Tool
Best for visually fitting clips into specific durations
Method 3: Time Remapping with Time Stretch
For the most sophisticated speed control, Time Remapping allows you to change speed dynamically throughout a single clip. This technique creates smooth speed ramps that transition gradually between different speeds, rather than abruptly jumping from one speed to another.
Accessing Time Remapping
Right-click on your clip and select "Show Clip Keyframes" > "Time Remapping" > "Speed." This reveals the speed overlay at the top of your clip in the timeline. You can also access this by selecting your clip and opening the Effect Controls panel, where you'll see the Time Remapping option.
The speed overlay shows a horizontal line representing your clip's speed. By default, this line is flat, indicating constant speed. Click on this line to add keyframes—these are points where the speed can change. Position keyframes where you want speed transitions to occur, then drag the line between keyframes up or down to adjust speed in that section.
Creating Smooth Speed Ramps
To create smooth transitions between speeds, add keyframes at the points where you want changes to begin and end. Then, adjust the line segment between them. The keyframes create distinct points, but the transition between different speeds happens gradually over the distance between them.
For example, you could start at normal speed, add a keyframe halfway through, then raise the speed for the second half. The transition between speeds happens smoothly rather than suddenly. This technique works beautifully for creating dramatic entrances or exits, building intensity before action, or smoothly slowing down for emphasis.
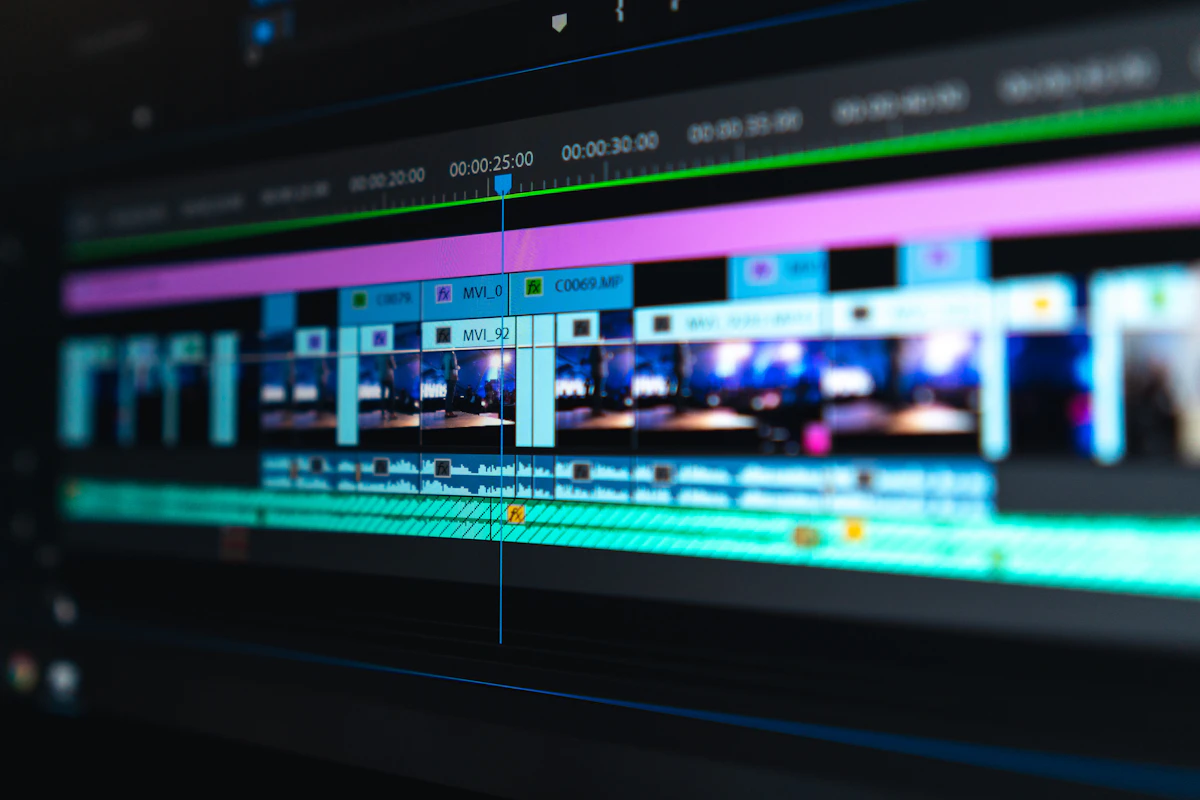
Time remapping provides dynamic speed control
Understanding Frame Sampling
When you speed up footage beyond 200%, Premiere Pro must decide how to handle the extra frames. The frame sampling method determines how your video appears when played at non-normal speeds. Understanding these options helps you choose the right approach for each situation.
Frame Sampling Options
Access frame sampling options by right-clicking your clip, selecting "Speed/Duration," then clicking the "Time Interpolation" dropdown. You'll see three options: Frame Sampling, Frame Blending, and Optical Flow. Each produces distinctly different results.
Frame Sampling simply repeats or drops frames to achieve the target speed. This produces the sharpest result but can look choppy, especially at extreme speed changes. Fast-moving elements may appear to stutter or jump. This option works best for moderate speed changes or when you want a retro, stroboscopic appearance.
Frame Blending creates intermediate frames by averaging adjacent frames. This produces smoother motion than sampling but can look slightly blurry or soft. The blending creates a dreamy quality that sometimes works well for artistic effects. This option is a good middle ground when you need smoother motion than sampling provides.
Optical Flow uses sophisticated algorithms to analyze motion between frames and synthesize new frames. This produces the smoothest results, often indistinguishable from natively shot footage. However, it's computationally intensive and sometimes produces artifacts in complex scenes. For the highest quality speed changes, this is usually your best choice.
Frame Interpolation Comparison
- Frame Sampling: Sharpest, can be choppy, retro look
- Frame Blending: Smooth, slightly soft, artistic
- Optical Flow: Smoothest, highest quality, most demanding
Speed Up Clips with Audio Considerations
When you change video speed, what happens to the audio? By default, Premiere Pro maintains audio pitch and changes its duration to match the video speed. This works well for most situations, but you need to understand your options.
Audio Pitch Preservation
When you speed up video, the audio plays faster and at a higher pitch by default. To keep the original audio pitch while changing duration, open the Speed/Duration dialog and check "Maintain Audio Pitch." This stretches the audio without changing its pitch, keeping dialogue intelligible and music recognizable even at extreme speeds.
The trade-off is that maintaining pitch requires more processing and can sometimes sound slightly unnatural, particularly at extreme speed changes. For modest speed adjustments (50% to 200%), pitch preservation usually sounds excellent. For very fast speeds, you might prefer letting the pitch change naturally, which creates more dramatic emphasis.
Removing Audio During Speed Up
Sometimes you don't want any audio at all when you speed up footage—for example, when creating a fast montage from silent B-roll. In the Speed/Duration dialog, uncheck "Audio." This removes audio from the speed-changed clip entirely, letting you add separate music or sound design to match the fast visual pace.
Alternatively, you can simply unlink audio from video in the timeline (right-click and select "Unlink"), then delete the audio portion before applying speed changes. This gives you full control over whether and how audio appears with your speed-adjusted video.
Speed Up for Different Project Types
Different creative contexts call for different speed-up approaches. Understanding common use cases helps you choose techniques that serve your specific project goals.
Travel Videos
Travel videos often include long stretches of travel—driving, walking through cities, waiting at airports. Speeding up these sections keeps your video dynamic while maintaining narrative flow. Use moderate speed increases (150-200%) for natural-looking results, and use time remapping to smooth transitions between normal and fast sections.
Consider keeping moments of interest at normal speed—the sunset you traveled to see, the smile of a loved one—then speed through transitions between these highlights. This contrast emphasizes your key content while keeping the overall video engaging.
Sports Highlights
Sports highlight reels rely heavily on speed manipulation to create energy and excitement. Short clips at high speeds (300-400%) create intense, fast-paced sequences that convey action and excitement. Use frame blending or optical flow for the smoothest results, particularly for fast-moving sports like football, basketball, or racing.
Pair your speed changes with dynamic music that matches the rhythm you're creating. The visual speed and audio energy combine to create compelling highlight packages that keep viewers engaged.
Time-Lapse Creation
While time-lapse typically involves shooting at very slow frame rates rather than speeding up in post, you can also create time-lapse effects by speeding up regular footage. A day-long event shot at normal speed could become a dramatic time-lapse by setting speed to 500% or higher. Use optical flow for the smoothest result when converting normal-speed footage to time-lapse style.
Social Media Content
Short-form social media content often benefits from aggressive speed-up to fit more content into tight time limits. Whether you're creating a quick product demo, a process breakdown, or a highlights reel, speed manipulation helps you deliver maximum impact in minimum time.
Keep important information at normal or slightly reduced speed to ensure viewers can absorb key details. Speed up transitional or repetitive content. The contrast helps viewers understand what to focus on while keeping overall video length short.
Speed Guidelines by Content
🎬 Travel: 150-200% with remapping
⚽ Sports: 300-400% with optical flow
⏱️ Time-lapse: 500%+ for effect
📱 Social: Variable based on content
When to Use Each Method
📊 Speed/Duration: Precise control
✂️ Rate Stretch: Visual fitting
🔄 Time Remap: Dynamic changes
🎯 Clip Speed: Speed ramping
The Speed Ramping Technique
Speed ramping—gradually transitioning between different speeds within a single clip—creates dramatic effects that add professional polish to your videos. This technique works by using time remapping to create smooth speed transitions that build and release tension.
Creating Your First Speed Ramp
Start by revealing the time remapping controls on your clip. Right-click and select "Show Clip Keyframes" > "Time Remapping" > "Speed." This adds a speed control line at the top of your clip. Click on this line to add keyframes at points where you want speed to change.
For a simple speed ramp, add two keyframes: one where you want the speed change to begin, and one where you want it to end. Between these keyframes, drag the line upward to increase speed. The transition happens gradually over the distance between your keyframes, creating a smooth ramp rather than a sudden jump.
Speed Ramps for Dramatic Effect
Speed ramps work brilliantly to build anticipation before action. Start a clip at normal speed, gradually increase to fast speed just before the main event, then return to normal for the moment itself. This creates a visual "wind-up" that makes the payoff feel more impactful.
You can also reverse this effect—start fast, slow down for a moment of emphasis, then speed up again. The speed change itself draws viewer attention, making your carefully chosen moments stand out from the surrounding content.
Speed Changes and Video Quality
Understanding how speed changes affect video quality helps you make better choices about when and how to use these techniques. Several factors influence the quality of speed-adjusted footage.
Source Resolution Matters
Higher resolution source footage produces better results when speed changes are applied. If you're creating a 2x speed version of 4K footage, you still have plenty of resolution to produce a sharp final output. However, the same speed change on 720p footage will look significantly softer. When possible, use the highest resolution footage available for projects that will include speed manipulation.
This is particularly important for extreme speed increases. A 400% speed increase applied to 4K footage might produce acceptable results for web viewing, while the same increase on 1080p could look noticeably degraded.
Motion Complexity Affects Results
The complexity of motion in your footage influences how well speed changes work. Simple, consistent motion—like a camera panning across a landscape—usually produces excellent results even with aggressive speed changes. Complex, unpredictable motion—like busy city streets or crowded events—can create artifacts, particularly when using frame interpolation methods.
Test your specific footage with different frame interpolation methods to see which produces the best results. What works perfectly on one clip might need adjustment on another. Taking time to evaluate options for each unique situation leads to better final output.
Quality depends on source footage and method choice
Pro Tips for Better Speed Effects
These professional techniques will help you achieve better results with speed manipulation in your projects.
Use Adjustment Layers for Consistency
If you're applying speed changes to multiple clips that need to match visually, consider using adjustment layers. Apply color correction, sharpening, or other effects to an adjustment layer above your sped-up clips to ensure they all look consistent. This also makes it easy to adjust the overall look later if needed.
Add Motion Blur for Realism
Very fast speed changes can look unnatural because real-world fast motion includes motion blur. Premiere Pro's directional blur effect can add motion blur to sped-up footage, making it look more natural. Apply a small amount of directional blur to simulate the blur that would appear in naturally fast-moving footage.
Match Speed to Music Beat
For dynamic music-backed videos, try to time your speed changes to hit musical beats or transitions. Use time remapping to create speed changes that coincide with music changes—the visual impact of speed shifts on the beat creates powerful, synchronized sequences that feel professionally produced.
Add Stabilization Before Speed
If your footage is shaky, apply stabilization before speeding up. Speed changes can magnify existing shake, making it more noticeable. By stabilizing first, then applying speed changes, you get clean results without the shake being amplified. The stabilizer's analysis also works better on stable footage, so this order produces better stabilization results too.
Troubleshooting Common Speed Issues
Even experienced editors encounter problems with speed changes. Understanding common issues and their solutions helps you resolve problems quickly.
Choppy Playback
If your timeline plays choppily after applying speed changes, the issue is usually playback performance rather than output quality. Try rendering a preview of your timeline (press Enter to render work area), then play back the preview rather than real-time. If that works, your final export will play smoothly even if timeline playback is choppy.
Audio Out of Sync
Sometimes audio becomes slightly out of sync after speed changes, particularly when you've unchecked "Maintain Audio Pitch." To fix this, right-click on your clip and select "Align Audio." This recalculates the audio timing to match the adjusted video precisely.
Visual Artifacts
If you see strange artifacts in your sped-up footage, try changing the frame interpolation method. Right-click your clip, go to Speed/Duration, and try a different interpolation option. Frame Sampling is often sharpest but can stutter. Optical Flow is smoothest but can create weird artifacts in complex scenes. Frame Blending offers a middle ground.
Timeline Gaps
When you speed up a clip without enabling ripple edit, you create empty space in your timeline. Use the Ripple Delete tool (B) to close these gaps, or enable ripple editing when applying speed changes to prevent gaps from forming in the first place.
Quick Troubleshooting Reference
- Choppy playback: Render preview then export
- Audio sync issues: Right-click and Align Audio
- Visual artifacts: Change frame interpolation method
- Timeline gaps: Use Ripple Delete or enable ripple edit
Comparing Speed Methods
Understanding when to use each speed manipulation method helps you work more efficiently. Each approach offers distinct advantages for different situations.
Speed/Duration Dialog
Precise control, percentage-based, good for simple speed changes
Rate Stretch Tool
Visual drag, fits to duration, intuitive timeline control
Time Remapping
Dynamic ramps, smooth transitions, advanced control
Advanced Speed Effects
Beyond basic speed changes, Premiere Pro offers advanced techniques that create distinctive visual effects and handle complex production requirements.
Speed Effects in Multicam Sequences
When working with multicam sequences, you can apply speed changes to individual camera angles. This proves useful when one camera captured at a different frame rate, or when you want to vary the tempo of specific angles within your multicam edit. Select the specific camera clip within the multicam sequence and apply speed changes as you would to regular clips.
When mixing frame rates in multicam—such as combining 24fps and 60fps footage—you may need to adjust speeds to achieve temporal sync. Premiere Pro handles this automatically in many cases, but understanding manual speed adjustment gives you more control when automatic matching doesn't produce ideal results.
Reverse Speed Effects
Reversing your footage while also adjusting speed creates unique effects. Set speed to a negative percentage in the Speed/Duration dialog to reverse playback. Combined with speed changes, this technique produces unusual visual results—fast reverse, slow reverse, or even reverse time-lapse effects that create dreamlike sequences.
Be aware that audio plays in reverse when you reverse video. If you want to keep audio playing forward while video reverses, you'll need to separate audio and video, then apply reverse only to video while maintaining normal-direction audio.
Using Presets for Speed Effects
Premiere Pro includes several speed presets that provide starting points for common effects. Access these in the Effects panel under Video Transitions > Dissolve > Cross Dissolve (Some speed transitions appear as transitions rather than effects). You can also save your own speed settings as presets for quick application to future projects.
Creating custom presets for your most-used speed configurations saves significant time. If you frequently use 200% speed for B-roll or 150% for establishing shots, save these as presets that you can apply with a single click rather than configuring each time.
Frequently Asked Questions
Does speeding up video reduce quality?
Speeding up video doesn't inherently reduce quality—the quality loss comes from the frame interpolation method used. Higher resolution source footage produces better results because there's more information available. With high-quality source footage and proper interpolation settings, speed changes can look nearly indistinguishable from native footage.
Can I speed up just part of a clip?
Yes, use Time Remapping to create different speeds within a single clip. Add keyframes at points where you want speed to change, then adjust the speed values between keyframes. This lets you slow down the beginning, speed up the middle, and return to normal for the end—all within one clip.
Why does my audio pitch change when I speed up video?
By default, audio maintains its timing relationship with video, so faster video plays audio faster and at higher pitch. Check "Maintain Audio Pitch" in the Speed/Duration dialog if you want audio to keep its original pitch regardless of speed. This is especially useful for dialogue or music where pitch changes would sound unnatural.
What's the fastest speed I can use in Premiere Pro?
Theoretically, you can set any percentage—Premiere Pro accepts values well beyond 1000%. Practically, speeds above 500-600% often produce unusable results because there's simply too little original information remaining to create smooth playback. Quality depends heavily on source footage and frame interpolation choice.
How do I fix choppy speed-up footage?
Try changing the frame interpolation method in Speed/Duration settings—switch from Frame Sampling to Frame Blending or Optical Flow. If that doesn't help, the issue might be playback performance rather than output quality. Render a preview and export from that—your final output may play smoothly even if timeline playback is choppy.
Tips for better speed manipulation results
Exporting Speed-Altered Content
Getting your speed-manipulated content out of Premiere Pro requires proper export settings to maintain the quality you've worked hard to achieve.
Export Settings for Speed Content
When exporting content with speed changes, your export settings should match your intended delivery platform. For web delivery, H.264 provides broad compatibility and reasonable file sizes. For high-quality archival or broadcast, ProRes offers excellent quality with larger files. The specific codec matters less than ensuring your resolution and frame rate match your project's settings.
Check "Use Maximum Render Quality" in export settings when your timeline contains speed effects, particularly if you've used Optical Flow. This setting ensures Premiere Pro applies its best processing during export, producing higher quality output than real-time playback rendering.
Understanding Export Time
Exports with speed changes often take longer than exports of normal-speed content. This is particularly true when using Optical Flow frame interpolation, which requires significant processing for each frame. Plan additional time for exports that include speed manipulation, especially if you've used multiple speed effects throughout your timeline.
If export times are prohibitively long, consider using a proxy workflow. Create lower resolution proxies of your footage, perform your speed editing on proxies, then switch to full resolution for final export. This approach dramatically reduces export times while maintaining final output quality.
Speed Manipulation Best Practices
These best practices will help you achieve professional results efficiently and avoid common pitfalls.
Work Non-Destructively
Always keep original footage separate from your speed-manipulated versions. Create duplicates or adjust clip speed on copies rather than your master footage. This preserves your ability to revisit speed choices later without degrading original quality through repeated changes.
Use nested sequences when experimenting with complex speed effects. Place your speed-adjusted content in a nested sequence, then work on the parent timeline. This lets you try different approaches without committing to specific speed settings.
Test Before Finishing
Preview your speed changes at actual playback speed before considering your edit complete. What looks smooth in the timeline might feel different at playback speed. Watch your entire sequence from start to finish, paying particular attention to transitions between speed-changed and normal-speed sections.
Export a short test section rather than exporting your entire timeline immediately. This lets you evaluate quality before investing time in a full export that might need adjustment.
Document Your Choices
Keep notes about your speed settings, especially for complex projects with multiple speed changes. Note which clips are sped up, what percentage you used, and which interpolation method you chose. This documentation helps if you need to revisit the project later or explain your creative choices to clients.
Adding markers or comments in your timeline that explain speed changes also helps future editing. A simple comment noting "2x speed for energy" makes understanding your edit easier when you return to the project months later.
Do's
✓ Test footage with different interpolation
✓ Use high-resolution source when possible
✓ Preview at actual playback speed
✓ Keep backups of original footage
Don'ts
✗ Don't apply extreme speed to low-res
✗ Don't skip testing frame methods
✗ Don't forget audio pitch settings
✗ Don't ignore timeline gaps
Summary and Key Takeaways
Speed manipulation in Premiere Pro offers tremendous creative possibilities. Whether you need simple fast-forward effects, dramatic speed ramps, or smooth slow-motion, the software provides the tools you need. The key is choosing the right method for your specific situation.
For straightforward speed changes, the Speed/Duration dialog provides precise control. The Rate Stretch tool lets you visually fit clips into specific durations. Time Remapping enables sophisticated speed ramps that add professional polish. Each method serves different purposes, and experienced editors use all three depending on their needs.
Frame interpolation options matter significantly for quality results. Frame Sampling is sharpest but can stutter. Frame Blending is smoother but softer. Optical Flow generally produces best results but requires more processing power. Test your footage with different options to find what works best for each situation.
Remember that higher resolution source footage produces better results when speed changes are applied. Plan your shooting with speed manipulation in mind when possible—shooting at higher resolutions gives you more flexibility in post. With practice, speed manipulation becomes an essential tool in your editing arsenal.
Master Speed Control in Premiere Pro
Practice these techniques in your next project and discover how speed manipulation can transform your videos.
More Tutorials
Video Courses
Speed Changes
Multiple methods available
Time Remapping
Dynamic speed ramps
Quality Options
Frame interpolation choices
Where to go next
- Every Frame Tells a Story. We Make It Unforgettable.
- Expert Video Editors for Your Projects
- We Lock On. It Disappears.
More useful paths
Use these paths to continue with the closest practical topic, service, or decision guide.
Spotted something wrong? Report an error on this page. We correct on the page and say what changed.