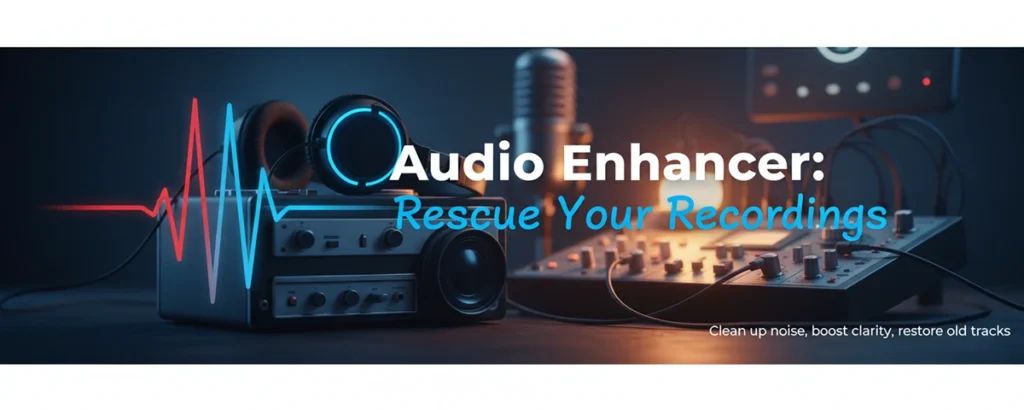
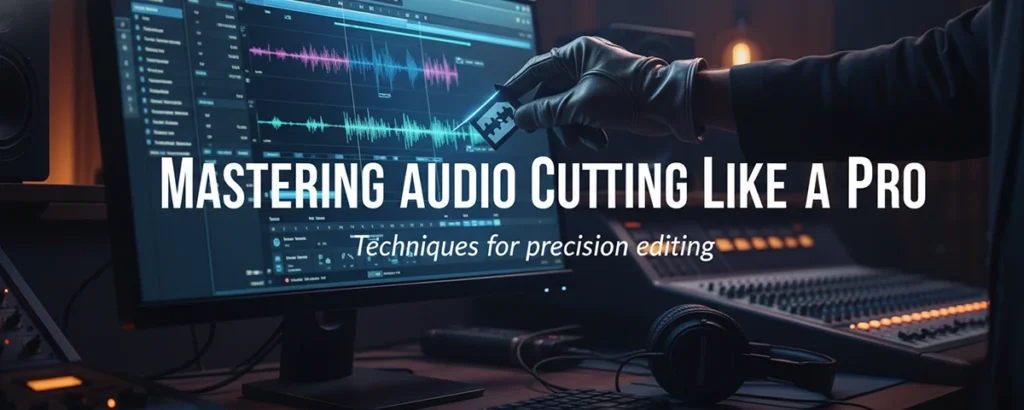
From removing air conditioner hum to restoring vintage tapes, audio enhancement is the magic wand of modern media. Learn the tools, the AI revolution, and the limits of what can be fixed.
We've all been there. You record a podcast interview, a YouTube video, or a crucial business meeting, only to play it back and hear the disaster. The air conditioner is humming like a jet engine. The room echoes like a bathroom. The voice audio sounds "thin" and distant.
Five years ago, that recording was garbage. Today, it's just raw material.
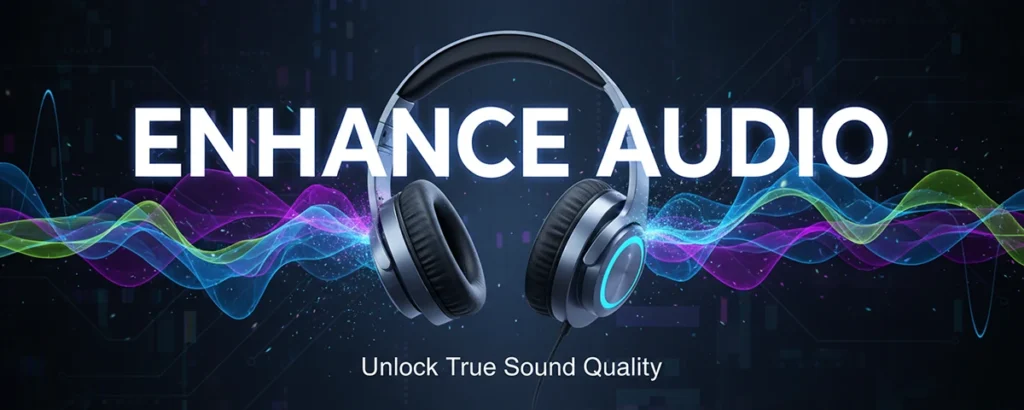
Welcome to the world of Audio Enhancers. This field has exploded from a niche skill reserved for forensic scientists and high-end studio engineers into a one-click solution available to anyone with a browser. But how does it work? Is AI actually "hallucinating" sound that wasn't there? And which tool should you trust with your content?

The Science of Cleaning Sound
Audio enhancement isn't magic; it's math. Traditionally, it splits sound into frequencies. Today, it uses neural networks.
Noise Gate / Spectral Subtraction
The "Old School" method. You pinpoint a "profile" of the noise (like a hiss), and the software subtracts those frequencies from the whole track.
EQ & Compression
The "Polishing" method. Once noise is gone, you use Equalization (EQ) to boost the bass/treble of the voice and Compression to make the volume consistent.
Generative AI
The "New School." The software listens to your bad audio, realizes "that's a human voice," and essentially reconstructs a clean studio version of it from scratch.

The Tool Landscape: From Free to Pro
Adobe Podcast Enhance / Auphonic
Best for: Creators with
zero audio skills. You drag and drop a file, wait 30 seconds, and it sounds like NPR.
Warning: Can sound robotic if the original is too noisy.
Audacity / Fairmont (Plugins)
Best for: People on a budget who want control. You manually apply "Noise Reduction" profiles. Good for mild repairs.
iZotope RX (Standard/Advanced)
Best for: Pros. It allows you to "paint out" a cough, remove clothes rustle, or de-click a dry mouth without touching the rest of the audio. Industry standard for Netflix/TV.

Glossary of Restoration Terms
When using these tools, you'll encounter these knobs. Here is what they do.
De-Reverb
Removes the "room sound" or echo. Essential for audio recorded in kitchens, empty offices, or bathrooms. Makes the voice sound closer to the mic.
De-Esser
Tames harsh "S" and "T" sounds (sibilance). If your "S" sounds like a piercing whistle, you need this.
De-Click / De-Crackle
Removes mouth noises (smacking lips) or electrical crackle. Vital for audiobooks and voice overs.
Normalization / Limiting
Not restoration, but "finishing." It brings the volume up to a standard competitive level so your listeners don't have to turn up their volume knob.

The Danger Zone: "Underwater" Audio
🛑 Don't Overcook It
The most common mistake beginners make is pushing the "Reduction" slider to 100%. When you remove too much noise, you also remove parts of the human voice.
The Result: "Artifacts." The voice starts to sound bubbly, robotic, or like it's coming from underwater. It is better to have a little bit of hiss and a natural voice, than silence and a robot voice. Aim for 70% reduction, not 100%.

The Recommended Workflow
Repair First
De-click, De-clip, and remove big noises before you do anything else.
Denouise Second
Running noise reduction on the whole track. Be gentle.
EQ & Shape
Now that the bad stuff is gone, make the voice sound rich (boost bass/mid).
Level Last
Compress and Normalize to bring the volume up for the final export.

