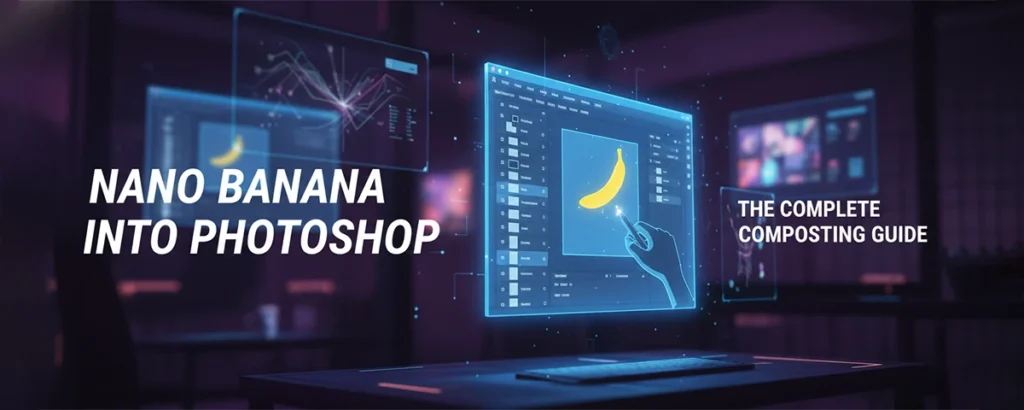
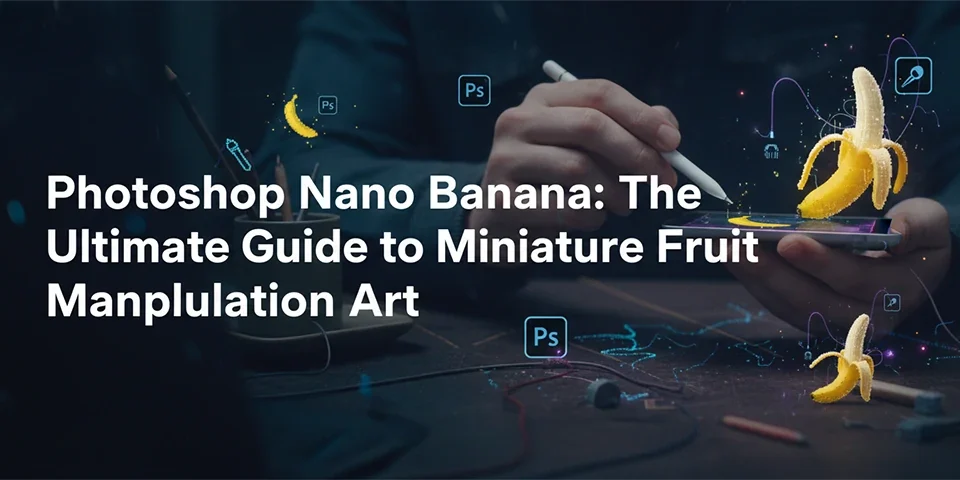
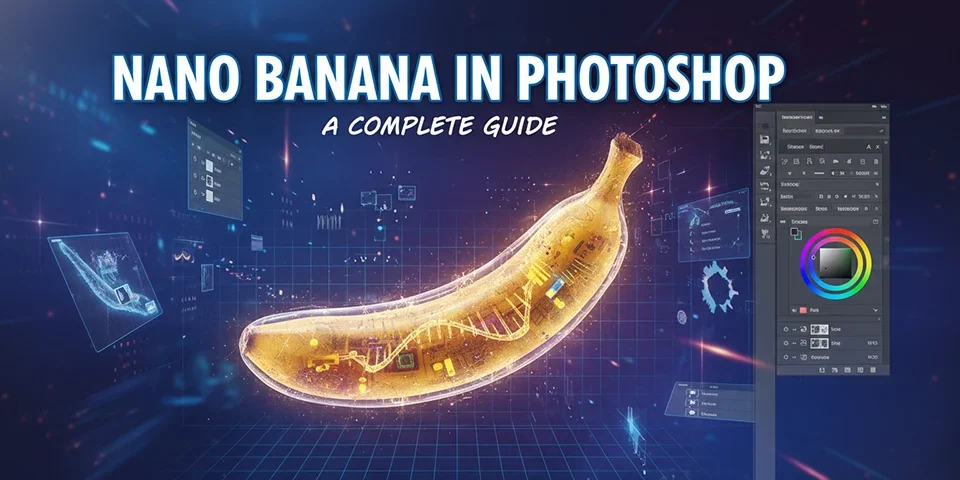
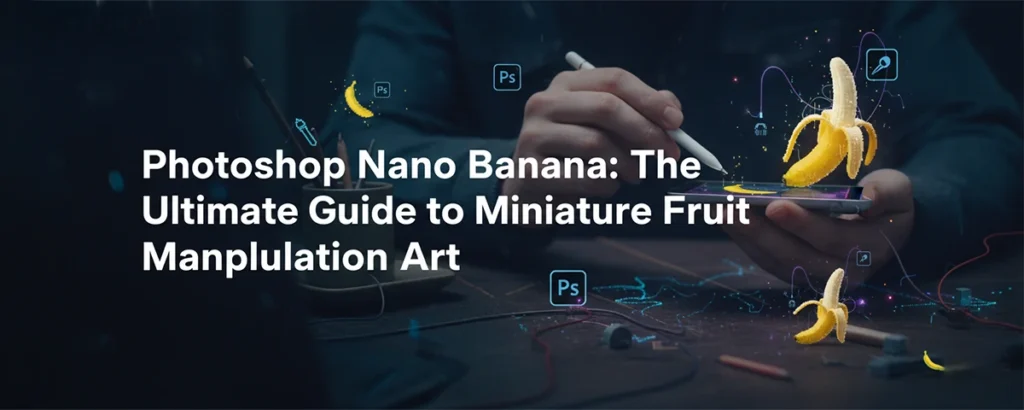
Transform an ordinary banana into a jaw-dropping nano-sized masterpiece. This comprehensive tutorial walks you through every step of creating photorealistic miniature fruit art.
Introduction: Why Nano Banana Art?
The "Nano Banana" has become a beloved subject in the Photoshop community. It represents the perfect blend of technical skill and creative whimsy—a chance to practice serious compositing techniques while creating something delightfully absurd.
At its core, placing a nano banana into Photoshop teaches you the fundamental skills of photo manipulation: precise masking, intelligent scaling, light matching, shadow creation, and color harmonization. These are the same techniques used by professional retouchers and VFX artists worldwide.
But beyond the educational value, there's joy in seeing a tiny banana sitting on a fingertip or resting beside a coin—so small it defies logic, yet so realistically rendered that viewers genuinely wonder if such miniature bananas exist. (They don't, by the way. Not this small.)
🎯 What You'll Create
By the end of this tutorial, you'll have a photorealistic composite of a nano-sized banana placed convincingly in a real-world scene. More importantly, you'll understand the principles behind the technique—knowledge you can apply to any compositing project.

Requirements & Setup
Software
Adobe Photoshop CC 2020 or newer is ideal. Older versions work, but newer AI-powered selection tools speed up masking significantly.
Banana Source
A high-resolution banana photo (2000px+ recommended). Clean backgrounds make masking easier. Search "banana isolated" on stock sites.
Background Scene
An image providing scale context: a hand, coins, keyboard, matchstick, etc. Good lighting with visible direction works best.
Step-by-Step Guide
Follow these eight steps to create a convincing nano banana composite.
Import Your Images
Open your background scene in Photoshop (File > Open). This becomes your canvas. Next, place your banana image into the document (File > Place Embedded). Placing as embedded automatically creates a Smart Object—critical for non-destructive scaling.
💡 Keyboard Shortcut: Ctrl/Cmd + Shift + P for Place Embedded
Create a Precise Mask
If your banana has a background, you need to isolate it. Use Select > Subject for a quick AI-powered selection, then refine with Select and Mask (access via Select > Select and Mask or the mask button in the Properties panel).
In Select and Mask, adjust Smooth (5-15) to soften jagged edges, and Shift Edge (-5% to -10%) to contract the selection and eliminate fringing. Output to: Layer Mask.
Scale to Nano Size
With the banana layer selected, press Ctrl/Cmd + T for Free Transform. Hold Shift while dragging a corner to maintain aspect ratio. Scale the banana down dramatically—until it looks impossibly tiny relative to your background scene.
Positioning matters. Think about where the banana would physically rest. On a fingertip? Beside a coin? Let gravity and physics guide your placement even in this surreal context.
Match the Light Direction
Study where light hits your background scene. Is it from the upper left? Upper right? The banana must match. If necessary, flip the banana horizontally (Edit > Transform > Flip Horizontal) to align its lit side with the scene's light source.
⚠️ Common Mistake: Mismatched light direction is the #1 reason composites look fake. Always analyze light before placing objects.
Adjust Color and Tone
The banana's color temperature and contrast must match the scene. Create adjustment layers clipped to the banana layer (Alt/Option + click between layers, or use the clip button in Adjustments panel).
- Curves: Match overall brightness and contrast
- Color Balance: Shift toward warm or cool to match ambient light
- Hue/Saturation: Adjust saturation to blend with the environment
Create Realistic Shadows
Shadows are non-negotiable. Without them, your banana will appear to float. Create a new layer beneath the banana, set to Multiply blend mode, and paint shadows using a soft black brush.
You need two shadow types:
- Contact Shadow: Very dark, tight, directly under the banana where it touches the surface. Small and high opacity.
- Ambient Shadow: Larger, softer, more diffused. Apply Gaussian Blur (8-20px) and reduce opacity to 30-50%.
Add Depth of Field (If Needed)
If your background has a shallow depth of field (blurred areas), the banana must match. An object in the focal plane should be sharp; one outside it should blur proportionally.
Apply Gaussian Blur or Lens Blur (Filter > Blur) to the banana if it sits in an out-of-focus zone. Use a mask to selectively blur parts closer to or further from the camera.
Final Grading and Export
Unify the entire composite with global adjustments. Stamp visible layers (Ctrl/Cmd + Shift + Alt + E), then apply the Camera RAW Filter (Filter > Camera RAW Filter) for final exposure, clarity, and color tweaks.
Add subtle noise (1-2%) to match the texture of the original photo. Save your layered PSD, then export via File > Export > Export As for web formats (JPEG at 80-90% quality, or PNG for transparency).
Pro Tips for Realism
🌈 Environmental Color Spill
Objects pick up color from their surroundings. Add a subtle color overlay to the banana's underside matching the surface color. This detail is often missed but adds significant realism.
✨ Specular Highlights
If your scene has point light sources, add tiny specular highlights to the banana using a small hard white brush on an overlay layer. Even minuscule objects catch light.
🔍 Texture Consistency
If the banana looks too sharp or too soft compared to its surroundings, adjust accordingly. Match the grain/noise level of the background. A pristine banana in a grainy photo screams "fake."
📐 Perspective Awareness
If placing on an angled surface, the banana must follow that angle. Use Edit > Transform > Skew or Distort to fine-tune perspective alignment.
Where Is Nano Banana Art Used?
Social Media Content
Surreal, eye-catching composites perform extremely well on Instagram, TikTok, and Pinterest. The unusual scale grabs attention in crowded feeds.
Photoshop Education
The nano banana is a popular teaching tool because it covers essential compositing fundamentals in a single, approachable project.
Portfolio Building
Well-executed miniature composites demonstrate technical proficiency. A polished nano banana can be a portfolio conversation starter.
Frequently Asked Questions
Do I need the latest Photoshop version?
No. While newer versions have faster AI selection tools, the core techniques work in any version from CS6 onwards. The fundamentals haven't changed.
Can I use free alternatives to Photoshop?
Yes! GIMP, Photopea (browser-based), and Affinity Photo all support layers, masking, and adjustment layers. The workflow is similar, just with different interface terminology.
Why does my composite still look fake?
Check these three things: (1) Light direction mismatch, (2) Missing or incorrect shadows, (3) Color temperature difference. Fixing these usually solves 90% of realism issues.
How small should my nano banana be?
There's no exact rule, but it should be small enough to defy belief while large enough to retain visible detail. Usually 5-20% of the size of a fingertip or coin works well.
